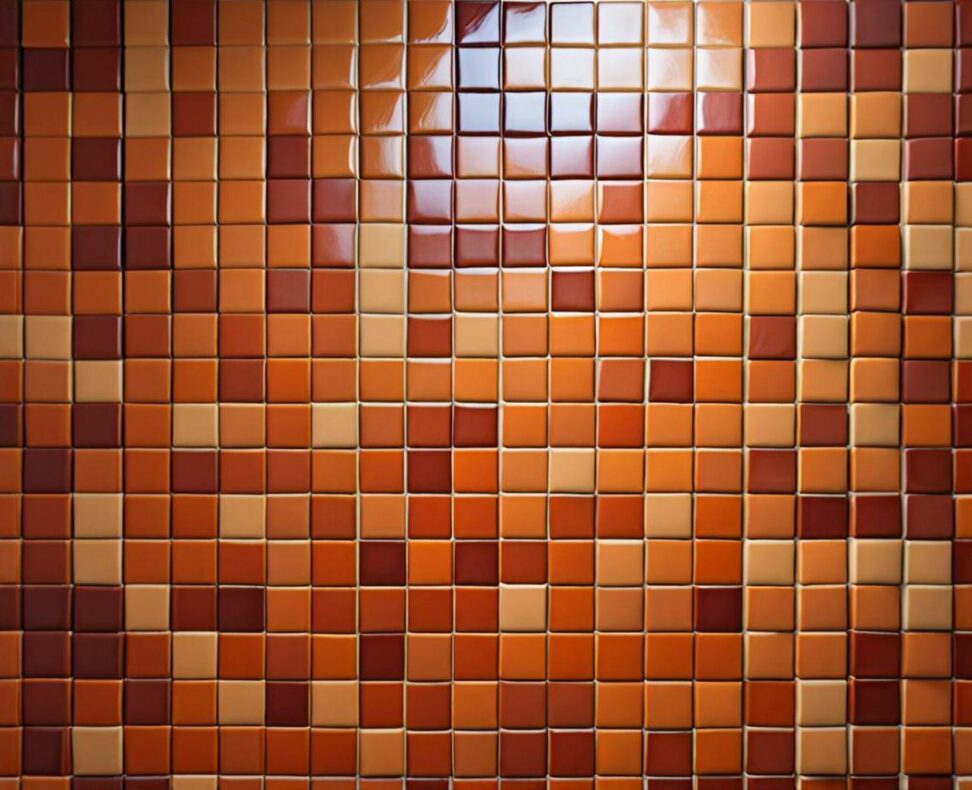
Transform Plain Tiles: Creative Ways to Paint Your Ceiling
If you're seeking ways to liven up a basic ceiling, painting the tiles is an easy DIY project that allows you to add pops of color, texture, and visual interest. With some planning and preparation, you can create an eye-catching ceiling that becomes an artistic focal point. Painting ceiling tiles allows you to customize and transform any space affordably.
We'll cover everything from choosing paints and colors to prepping the tiles and installing your finished designs. Read on to discover how paint can turn those easily overlooked tiles into a work of art.

Gather Supplies for Your Ceiling Tile Painting Project
Before starting your ceiling makeover, gather the necessary supplies. Here's what you'll need:
- Drop cloths to protect floors and furniture
- Paint trays, brushes, and rollers
- Primer like gesso to prepare the tile surfaces
- Acrylic paints or other finishes
- Stencils, sponges, glitter, sequins to create patterns
- Safety gear like goggles, gloves, and a mask
For paint, acrylics work beautifully. They adhere well to the tile material and clean up easily with soap and water. Avoid exterior house paints which take too long to dry when painting indoors.
Priming tiles first is a must. This allows the paint to stick properly. Gesso or basic white household primer both work well. For adding dimension, have textured paints, embellishments like sand or glitter on hand.
Choose a Theme and Style for Your Painted Tiles
Consider what look you're aiming for before starting your ceiling transformation. Are you seeking a playful, preppy vibe with bright, bold patterns? Or a minimalist look with muted tones? Establishing a theme will make your ceiling visually cohesive. Here are some popular styles:
Retro Motifs
Try a throwback tile design with retro shapes, color combos, and patterns like zigzags, checkerboards, or concentric circles. This lively approach pairs well with mid-century or vintage decor.
Coastal and Beach Vibes
Bring a calming, seaside feel through tiles painted in shades of sea glass, sky blue, and sand. Add freehand drawings of shells, starfish, or waves.
Preppy Plaids and Stripes
Upbeat bold plaids in classic color combos like navy and white create a polished, collegiate look. Mix with rugby stripes for extra flair.
Nature and Botanicals
Paint your ceiling withrendered drawings of leaves, flowers, trees, or landscape vistas. Soothing green hues enhance the organic vibe.
Prep the Ceiling Tiles for Painting
Prepping the tiles properly ensures your painted designs adhere well and look their best. Follow these steps:
- Carefully remove tiles from the ceiling grid and set aside in a safe workspace.
- Wipe away any dirt or debris using a mild detergent and let fully dry.
- Lightly sand the tiles to help the paint grip. Don't overdo it.
- Apply a primer like gesso to the backside for maximum adhesion.
Ideally, leave 24 hours for primer to cure before painting. If needed, use painter's tape to mask off any ceiling grid lines for a crisp painted edge.
Apply Paint and Finishing Touches
Now the fun begins! Bring your vision to life on the tiles using these painting techniques:
Rollers and Brushes
For large solid blocks of color, a small foam roller speeds up application. Use angled brushes for cutting in edges neatly. Let each coat fully dry before adding another.
Sponges and Rags
For a soft, blended look try dabbing on paint with a sea sponge. You can also tear rags into interesting shapes and dip into paint to stamp designs.
Stencils
Add geometric shapes, patterns, or motifs precisely by laying a stencil atop tiles and applying paint over it. Reposition to repeat the designs.
Freehand Painting
To give your ceiling a playful, hand-painted look, use a brush to freely apply shapes, figures or illustrations. An imperfect technique adds charm.
Let your painted tiles fully cure for at least 48 hours before reinstalling so finishes can harden. Add painter's tape around the edges for a clean border between tiles.
Pick Colors and Lighting to Showcase Your Painted Tiles
Choosing a thoughtful color palette and lighting is key for creating a cohesive look. Here are ideas to consider:
Color Choices
Go bold with vibrant primaries or pastels for a playful effect. Earthy tones like terracotta and sage green exude warmth and calm. For an understated look, try soft neutrals like cream, gray, or white.
Direct the Eye Upwards
Darker colors recede, so paint your ceiling a lighter shade than the walls. Vibrant tones draw focus upwards.
Use Lighting to Showcase
Strategically place track lighting, pendants or spotlights to illuminate your painted ceiling. Wall sconces cast a nice ambient glow. Install dimmers to set the perfect scene.
Reinstall Your Painted Tiles
Once thoroughly dry, it's time to put your painted tiles back up. Here are some tips:
- Work slowly and gently so as not to break the lightweight tiles
- Refer to initial photos or drawings to recreate the original layout
- Look for grid section numbers to match tiles to their prior spots
- Use painter's caulk to fill any gaps between tiles
Consider spray painting any exposed grid lines the same color as your tiles for a polished, cohesive look.
With some creativity and elbow grease, you can transform those easily ignored tiles into a stunning focal feature. Painting ceiling tiles allows you to add color, texture, and interest to any room.
Beyond the aesthetic benefits, it can also help insulate rooms and absorb sound. And by giving students and children a designated space to paint, you provide an enriching arts experience.
Approach your ceiling as a blank canvas and find inspiration in shapes, colors and designs you love. The possibilities are endless. With careful prep and these painting tips in mind, you're sure to create an eye-catching work of art above!