The Complete Guide to Pairing an Undermount Sink with Butcher Block Countertops
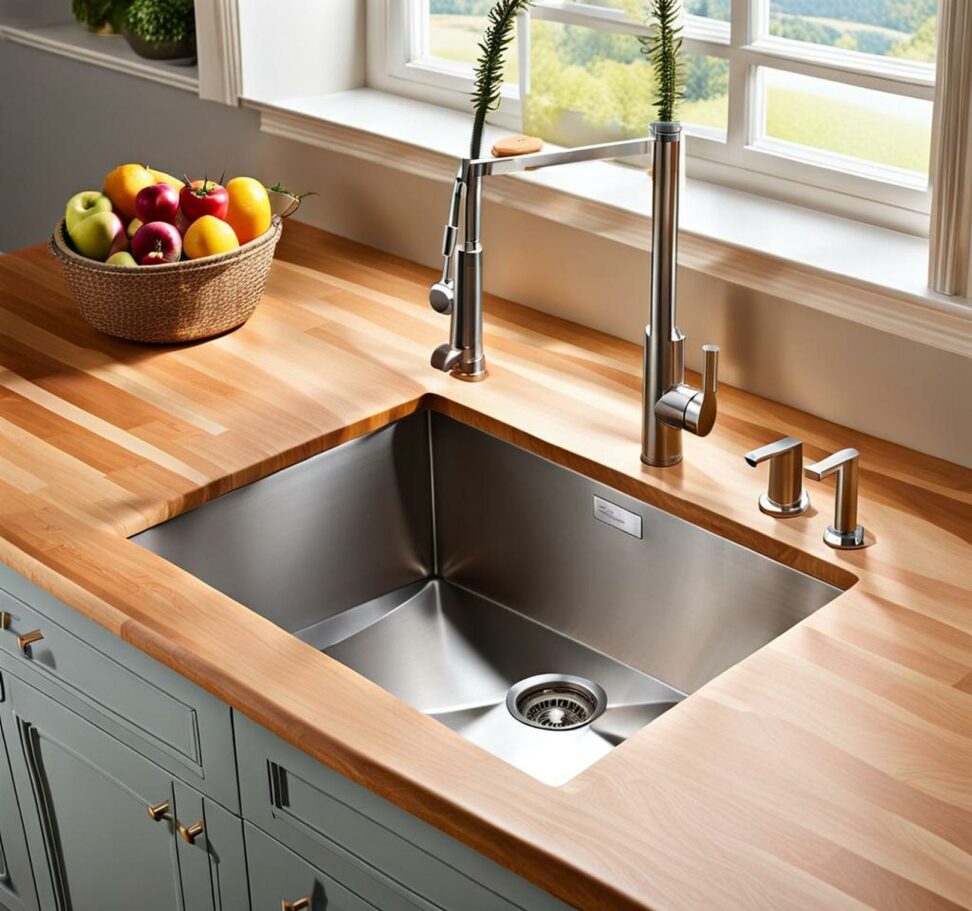
Many homeowners choose butcher block countertops because of their warm, natural beauty and scratch-resistance. Their rich, wood-grained appearance adds rustic elegance to any kitchen. When paired with a streamlined undermount sink, you get the best of form and function.
But successfully integrating an undermount sink requires special considerations. Butcher block's vulnerability to water makes proper prep and maintenance essential. Follow this comprehensive guide for tips on selecting materials, installation best practices, and care for a flawless pairing that will last for years to come.
Choosing the Ideal Wood Species
Opting for a hardy wood species is crucial to withstand heavy use and moisture. Oak's tight grain and density make it a top contender. Maple and walnut also rate well. Pine is more prone to damage but can be an affordable option with extra care.
Along with strength, the wood grain direction impacts durability. Run boards vertically for enhanced resilience. Investing in a high-quality butcher block from a reputable manufacturer ensures superior construction.
Pre-Installation Preparations
Proper prep before installing the sink lays the groundwork for success. Sanding refines the surface, while staining allows customizing the hue to suit your decor. Apply multiple coats of sealer like polyurethane or penetrating oil to fortify against spills.
Measure meticulously before sawing the sink cutout to prevent errors. Cut with the grain whenever possible for clean edges. Waterproof all exposed wood surfaces surrounding the hole using silicone or water-resistant finishes.
Choosing an Undermount Sink
Select an undermount sink tailored to your space and needs. Durable stainless steel and enamel options withstand heavy use. Heat-resistant composite materials are ideal for busy kitchens. Consider dimensions to allow ample room for prep tasks and entertaining.
Mounting hardware should properly support the sink's weight yet allow the countertop to move naturally. Coordinate finishes between the sink, faucet, and other fixtures for a cohesive look.
Step-by-Step Installation Guide
Meticulous installation prevents leaks, warped countertops, and other issues down the road. First, securely attach the butcher block to the cabinets using brackets or adhesive. Level it perfectly.
Then, following the manufacturer's instructions, mount the sink by aligning it precisely and tightening the mounting clips gradually and evenly. Connect supply lines and test for leaks before completing final touches like caulking.
| Installation Step | Tip |
|---|---|
| Secure countertop | Use brackets and construction adhesive for stability |
| Mount sink | Gradually tighten clips to avoid cracking |
| Make plumbing connections | Use flexible supply lines to allow wood movement |
Don't neglect maintenance. Quickly wipe spills and splash zones. Reapply protective seals regularly. Avoid prolonged direct water contact. Position mats and trivets under hot pans. A butcher block conditioner keeps the finish refreshed.
The butcher block counter and sink will perform well with proper care. The natural warmth of wood paired with a sleek sink creates a focal point that stands the test of time.