The Complete Guide to Installing Natural Stone Edging for Flower Beds
A beautifully defined border can truly make a flower bed pop. Natural stone edging provides a charming, rustic look that nicely complements vibrant blooms. With the right materials and a bit of work, you can install lovely natural stone edging to give your flower beds a polished, professional edge.
We'll cover choosing the right type of stone, prepping the area, laying the edging, filling it in, and finishing touches. We've also included helpful info on maintaining and enhancing your new stone edging so it looks fantastic for years to come.
Choosing the Perfect Natural Stone
With so many different types of natural stone to pick from, it can be tricky to settle on the right material for edging your flower beds. Here are some tips for selecting stone that complements your garden design and structure:
- Consider color and texture. Look for natural stone in a hue and finish that pairs well with your flowers and overall garden aesthetic.
- Determine size. Larger stones make more of a statement, while smaller ones allow for more intricate patterns.
- Evaluate shape. Rounded, irregular stones have an organic vibe. Square cut stone lends a more modern, structured look.
- Mind the climate. Wet climates suit granite better. Drier regions do well with sandstone and limestone.
- View examples. Browse photos online to find inspiring stone border ideas before deciding.
If you're seeking a classic, timeless look, fieldstone and bluestone are charming options. For contemporary garden beds, sleek cut travertine or quartz blocks could work nicely. Take time to carefully select the right stone for your vision.
Preparing the Flower Bed for Edging
Once you've chosen your border material, it's time to get the flower bed ready for edging installation. Proper preparation sets the tone for an end result you'll love. Here are the key steps:
- Clear away all weeds, plants and debris from the bed perimeter.
- Use a shovel to level the soil around the bed so it's even.
- Dig a 6-8 inch deep, 6 inch wide trench just outside the bed where you want the border.
- Fill the trench with a 3-4 inch layer of gravel for drainage and stability.
Take it slow when prepping the flower bed. Rushing this process can cause problems down the line. Once the bed is cleared, leveled and trenched, you're ready for edging.
Tips for Proper Flower Bed Preparation
Here are a few handy tips to ensure your bed prep is seamless:
- Use a garden hose to define the shape before digging the trench.
- Add amendmets like compost to increase nutrients for plants.
- Wear gloves to protect hands from blisters while digging.
- Check trench depth against your stone thickness.
With the right tools and techniques, prepping your flower bed for edging takes just a bit of work. The effort pays off in stellar results.
Laying the Natural Stone Edging
Now for the fun part - installing the edging! Here are the key steps for properly laying your border stones:
- Place the first row of stones into the trench, keeping them level.
- Continue adding stones, working your way around the bed perimeter.
- Use a hammer and chisel to modify stones as needed to fit curves or corners.
- Leave about 1 inch between stones for soil and room for plants.
- Every few feet, place larger anchoring stones that span the trench for stability.
Take care to keep a consistent look as you place the edging stones. Stepping back periodically to check alignment is helpful.
Tips for Laying Natural Stone Edging
Follow these tips for stellar results when installing your border:
- Work in small sections, completing one before moving to the next.
- Place the most decorative stones at corners or other focal points.
- Bury any sharp or uneven edges to prevent injuries.
- Use shims to stabilize stones and maintain proper spacing.
With some finesse and strategic stone placement, you can create a natural stone edge that delights!
Filling and Finishing the Edging
Once your border stones are laid, there are a few final steps to complete the edging:
- Pack soil behind the edging to hold it firmly in place.
- For extra stability, use mortar between the stones if desired.
- Place landscaping fabric along the bed's inner edge to block weeds.
- Fill the interior of the bed with enriched gardening soil.
- Apply mulch around the edging exterior to help retain moisture.
Take care to neatly finish filling the bed and spaces around the edging. This polishes off your flower bed and brings the whole look together.
Finishing Touches for Natural Stone Edging
Here are some final flourishes to amplify your edging:
- Add decorative stones, sea glass or pebbles along the top border row.
- Include permanent markers or numbers to identify plant locations.
- Paint, seal or accent certain stones for added whimsy.
- Plant low-lying annuals, herbs or moss inside the edging perimeter.
Get creative with finishes to make your stone edging truly unique. This is your chance to add personal flair.
Sealing and Protecting the Edging
Sealing natural stone edging helps shield it from weathering, staining and other damage. Here are some tips for sealing:
- Select an appropriate sealer based on stone type and finish.
- Carefully apply the sealer according to manufacturer instructions.
- Allow proper drying time before exposing the edging to soil or moisture.
- Reapply sealer every 1-2 years for optimal protection.
A quality sealer repels water, blocks UV rays and resists dirt accumulation. Sealing is highly recommended to preserve the beauty of your stone edging.
Maintaining the Natural Stone Border
Like any garden element, natural stone edging requires some occasional maintenance. Here are some upkeep tips:
- Check for sinking stones at least annually and reset as needed.
- Clear out excess mulch and soil buildup around the edging perimeter.
- Avoid using de-icers, herbicides or other harsh chemicals on the stones.
- Control weeds carefully by hand rather than with herbicide sprays.
With regular inspections and minor upkeep, your natural stone edging will withstand the elements and look gorgeous year after year.
Enhancing the Edging with Plants
For added visual interest, accent your stone edging with lovely plants. Some suggestions:
- Add low-growing annuals or perennials right along the border's edge.
- Choose plants with spilling or cascading habits to soften the edging.
- Interplant ornamental grasses for texture and movement.
- Allow select perennials to grow over edging stones for a natural look.
Match plants to your garden's sun exposure and select a variety of colors, shapes and textures. Foliage and flowers can bring your stone border to life.
Troubleshooting Common Edging Issues
Natural stone edging is quite durable, but occasional problems can arise. Here are some troubleshooting tips:
- For sunken stones, remove and add gravel to pack soil more firmly before resetting.
- Avoid erosion under edging by ensuring drainage slope angles away from the bed.
- Control weed growth by hand pulling regularly and mulching generously around perimeter.
Address any edging problems promptly to maintain an evenly aligned border and prevent damage. Minor repairs help avoid more extensive work down the road.
Gorgeous Examples of Natural Stone Edging
Need a little inspiration for your natural stone border? From modern to rustic, there are so many fabulous design possibilities. A few examples:
- A single row of loosely stacked slate shards for an organic look.
- Low fieldstone boulders lining a curvy, informal flower bed shape.
- Precisely cut limestone blocks in geometric patterns for modern flair.
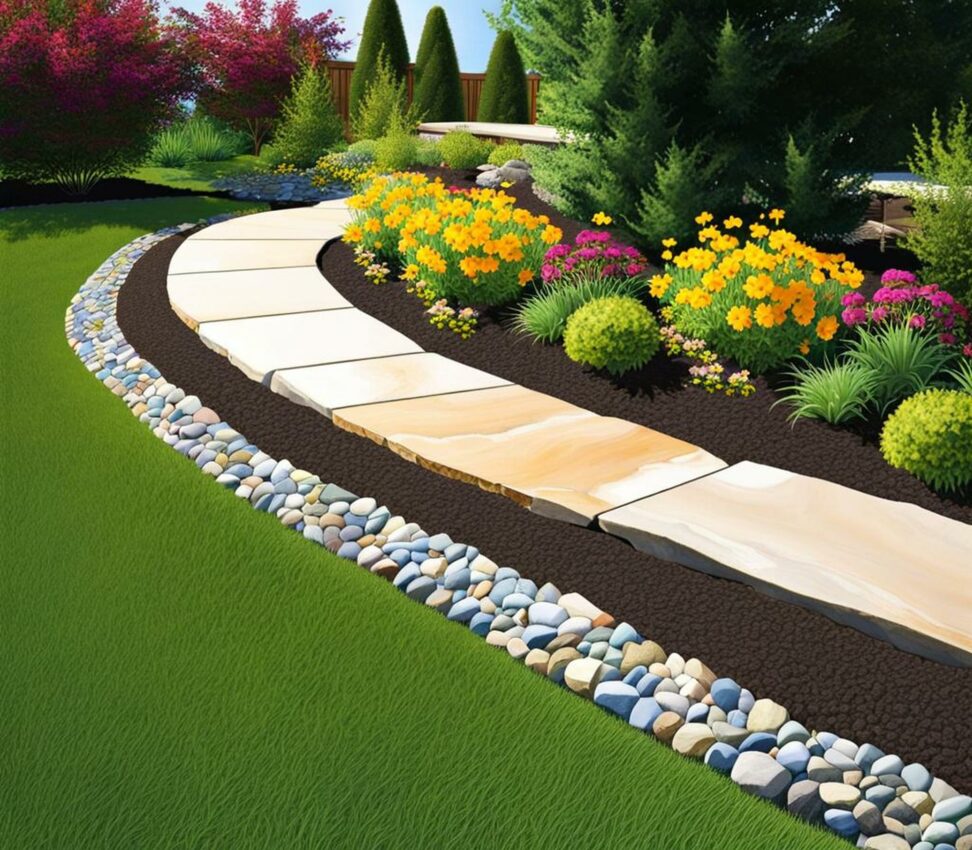
- A double row of rounded river rocks in harmonizing shades of gray.
Browse books and online images to discover edging ideas that resonate with your personal taste. Then create a look that complements your garden style.
Creating defined, dazzling flower beds with natural stone edging is a wonderfully rewarding DIY project. With proper planning, preparation and technique, you can install an eye-catching border to elevate your garden's elegance. We hope these tips give you the confidence and knowledge needed to tackle this project yourself.
Just take it step-by-step, do your prep work carefully, and don't be afraid to get creative with shapes, patterns and embellishments. Your beautiful new stone edging will enhance your flower beds for years of gardening enjoyment to come.