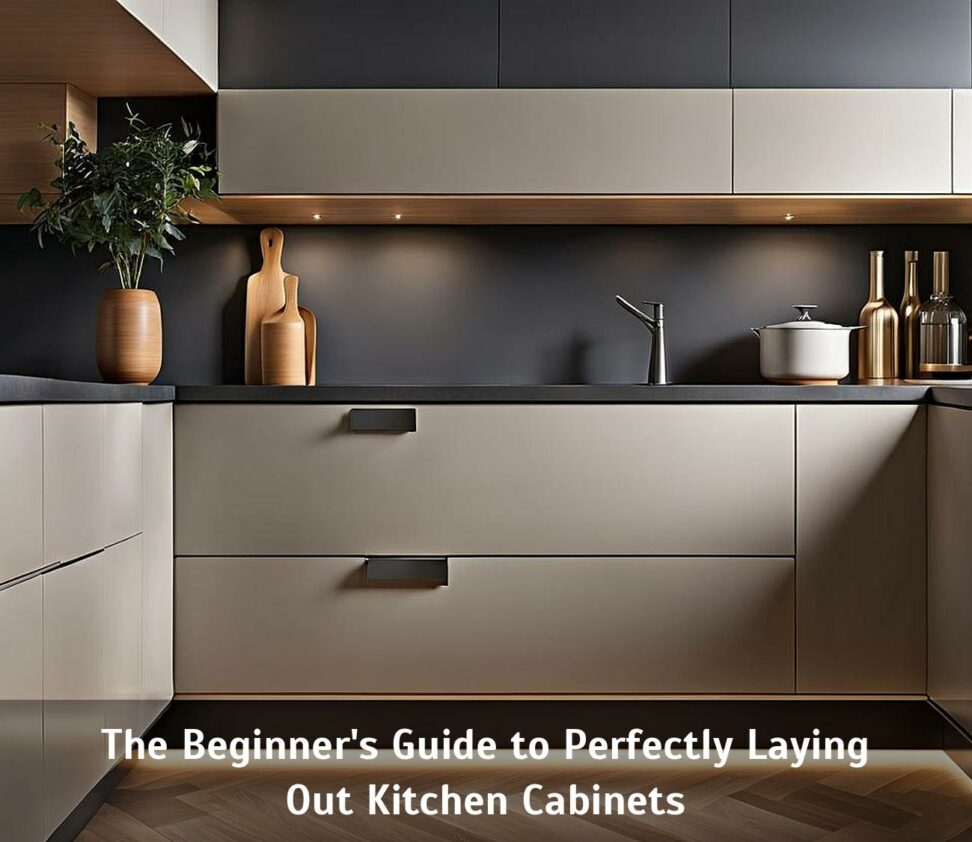
The Beginner's Guide to Perfectly Laying Out Kitchen Cabinets
Laying out kitchen cabinets is an important part of any kitchen remodeling or new construction project. The layout and placement of cabinets impacts the workflow, storage capacity, and aesthetic appeal of the space. While the process may seem daunting, especially for beginners, it can be broken down into manageable steps. With some careful planning and attention to detail, you can perfectly layout kitchen cabinets on your own.
In this beginner's guide, we will walk through the key considerations, necessary tools, and step-by-step process for successfully laying out both base and wall cabinets. Follow along as we cover measuring your space, developing efficient layouts, leveling and mounting cabinets, and applying the finishing touches. With these tips and techniques, you can install your dream kitchen confidently and hassle-free.

Developing Your Kitchen Cabinet Layout
Before laying a single cabinet, developing the layout is essential. Your kitchen's size and shape will inform the possibilities, but assessing your needs and wants will determine the best fit.
Measuring the Space
Grab your tape measure and laser level to quantify every dimension, starting with perimeter wall lengths and ceiling heights. Note windows, doors, corners, and any protrusions or openings needing accommodation. Use a stud finder to identify potential mounting locations while checking for pipes or wires that could impact placement.
Planning Traffic Flows
Map primary traffic patterns based on kitchen entry points. Ensure main workflow "triangles" between sink, stove, and refrigerator are efficient. Check that high-traffic appliance zones allow users to maneuver comfortably without congestion.
Determining Storage Needs
Audit existing cabinets and storage to gauge current capacity. Estimate future needs considering cookware expansion, small appliance additions, and food storage requirements. Allow for a few empty cabinets for adaptability.
Selecting Cabinet Sizes
With measurements and needs defined, choose standard cabinet depths (24" is common) and customize heights to maximize room dimensions. Optimize corner dead zones with angled designs or lazy Susan storage solutions.
Key Layout Considerations
With spatial restraints and functional needs addressed, several key factors still impact cabinet positioning.
Corner Cabinet Options
Take advantage of wasted corner space with specialty designs. Diagonal corner cabinets provide better ergonomics. Lazy Susan's maximize inside access. While blind corner cabinets conveniently hide mess.
Filler Strips and Panels
Fillers bridge awkward gaps between cabinets or walls. Cut fillers from plywood to precise widths when unavoidable spacing issues arise. Filler panels affix to cabinet ends for a built-in look.
Appliance Placement
Use manufacturer guidelines for optimal refrigerator, oven, and sink positioning. Ensure adjacent cabinets don't obstruct appliance openings. Leave ample landing zones to either side.
Laying Out Base Cabinets
With a finalized layout and essential tools on hand, it's time to map out base cabinet placement.
Starting in a Corner
Verify corner angles are 90 degrees using an adjustable square. Working outward from the plumb corner, run a ledger board to rest cabinets on for straight, stable alignment.
Accounting for Fillers
Hold fillers in place and mark where cabinets will hit them. Remove and cut to size with a table saw for a clean fit. Reinsert fillers before setting adjoining cabinets.
Achieving Level and Plumb
Use shims under cabinet legs for stability. Check level front to back and side to side. For plumb alignments on uneven floors, anchor to the wall while shimming any gaps.
Hanging Wall Cabinets
Before mounting wall cabinets, ensure base units are secured in position. Then focus attention overhead.
Marking Stud Locations
Track studs using a stud finder, marking centers with painter's tape. Note any electrical lines or plumbing in the mounting zones requiring rerouting.
Mounting Considerations
Standard height is 54 inches to the lowest point for adequate clearance. Use a ledger strip to draw a level line for drilling pilot holes into marked studs.
Maintaining Alignment
Measure frequently to ensure cabinets align with bases and form straight rows. Tighten screws methodically to prevent shifting. Use shims to fill any gaps.
Finishing Touches
Before loading up cabinets, applying finishing touches ensures everything functions properly.
Adding Drawers and Doors
Allow cabinet boxes to settle overnight once completely installed. Then attach hardware and doors/drawers per manufacturer instructions.
Adjusting and Leveling
Fine tune alignments, tighten all screws/bolts, and address any gaps with additional shims to prevent future sagging or shifts.
With cabinetry solidly in place, bring the space together by scheduling countertop templating and installing lighting, plumbing fixtures, flooring, and any remaining electrical.
By taking the proper time to measure, plan, and install kitchen cabinets thoughtfully, beginners can feel empowered to tackle this significant project from layout to completion. Carefully work through each decision and installation step using the guidance above. Before you know it, you'll have a customized, functional kitchen you can be proud of. Feel free to reference back for reminders anytime a question arises during your cabinet layout process.