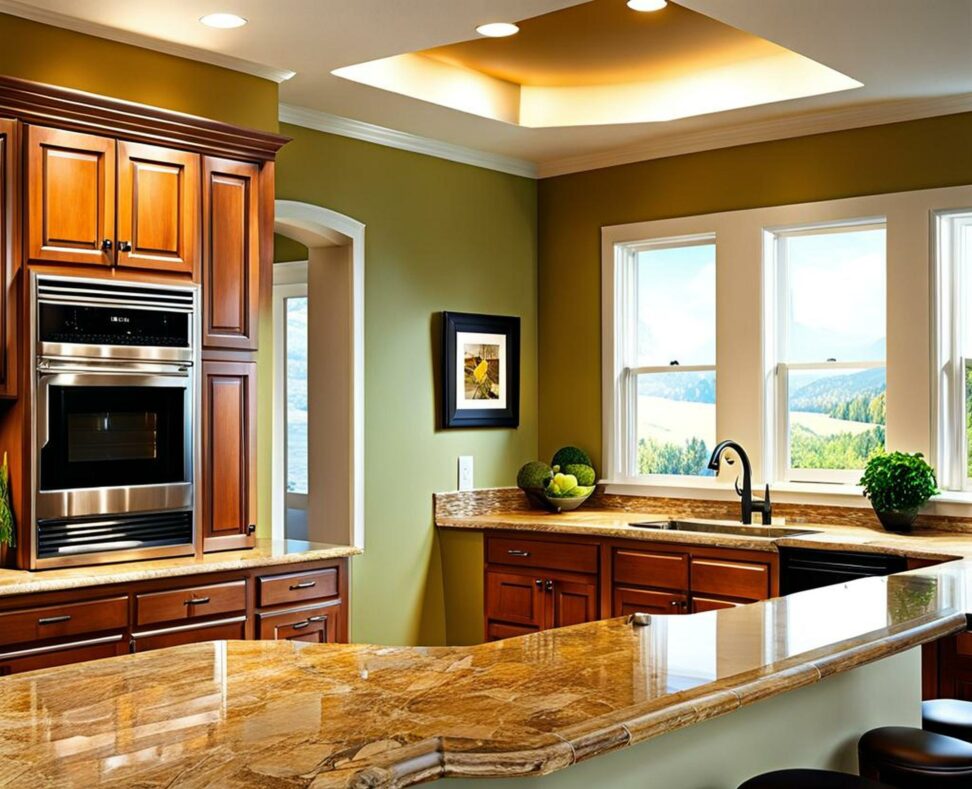
Quickly Refresh Dingy Counters with Easy Caulking
Is your kitchen looking a little lackluster these days? Do you cringe at the sight of dingy grout lines full of grime and caulk that's cracked and peeling away? Don't despair - with some simple caulking, you can quickly refresh those tired counters and make your kitchen look brand new again!
Caulking is an easy, affordable way to revitalize countertops and backsplashes that have seen better days. Read on to learn why caulking can reinvigorate your kitchen, and how to use caulk for seamless, waterproof joints.
Why Caulk Kitchen Counters?
Over time, the caulk and grout around your sinks, backsplashes, and countertops can start to deteriorate. You'll notice staining, cracks, gaps where water and gunk can seep in. This not only looks unsightly, but can lead to water damage, mold growth, and bacteria if moisture gets underneath the counters. Recaulking helps protect your counters in several key ways:

- Forms a waterproof seal along countertop edges and backsplashes.
- Prevents mildew and bacteria growth in wet crevices.
- Fills in cracks and gaps where grime collects.
- Refreshes grungy grout lines.
- Provides a clean finish around sinks, cooktops.
For a quick kitchen refresh, caulking makes scuffed countertops look brand new again! The results are dramatic.
Choosing the Right Caulk
With so many caulk options on the market, it can be tricky choosing the best one for kitchen counters. Here's what to look for:
Silicone Caulk
Silicone caulks are ideal for kitchen use. They remain flexible to withstand shifting and settling, and won't shrink or crack over time. Top choices include:
- 100% silicone - Great adhesion and durability.
- Silicone/acrylic blends - More flexibility than pure acrylic.
- Mildew-resistant silicone - Contains fungicides to prevent mold growth.
Key Features
When selecting a caulk, ensure it has these features:
- Flexibility - Won't crack or shrink when counters move.
- Mildew resistance - Prevents mold in wet areas.
- Strong adhesion - Won't peel or lift.
- Easy tooling - Smoothes out neatly.
With the right caulk and tools, you can tackle countertop caulking like a pro!
Preparing the Area
Before applying fresh caulk, prep the area:
Remove Old Caulk & Grout
Use a sharp utility knife to cut out any cracked or missing sections down to the bare substrate. Scrape off as much residue as possible.
Clean the Joint
Wipe away dirt, grease, and debris with isopropyl alcohol or vinegar. Ensure the joint is completely dry before recaulking.
Protect Surfaces
Cover nearby areas with painters tape and rosin paper to avoid drips and splatters.
Applying Fresh Caulk
Follow these steps to neatly caulk counters:
- Load caulk into gun, cut nozzle for 1/8" bead.
- Hold at 45deg angle and apply steady pressure as you smooth bead.
- Use finger dipped in water to press caulk into cracks and shape.
- Wipe excess caulk with a damp rag before drying.
- Make sure caulk adheres to both sides of the joint.
Take care not to apply too much pressure or underfill the joint when caulking. Go slowly and check for gaps or thin spots.
Cleaning Up & Letting Cure
Once finished caulking, allow plenty of cure time:
- Wipe away excess caulk on counters with a damp rag.
- Carefully clean caulk out of grout lines with a toothpick.
- Let cure 24-48 hours before getting counters wet.
- Do a second coat if any gaps remain after full cure.
Be diligent about cleanup - dried caulk residue is difficult to remove from porous surfaces like tile and grout.
Caulking Tips & Tricks
Follow these pro tips for seamless caulk lines:
- Apply in continuous strokes without stopping.
- Keep caulk gun nozzle close to surface.
- Tool the caulk when it's just starting to skin over.
- Recaulk every 1-2 years as needed when joints shrink.
Your counters will look factory-fresh with these simple caulking techniques! No need to replace your counters - just refresh grout and fill joints to restore your kitchen's glow.
Recaulking countertops is an easy, affordable way to make your kitchen look brand new again. With the right silicone caulk and some simple prep and application tips, you can waterproof joints, remove stains, and cover up cracks and gaps in a weekend. Just remember to clean thoroughly, apply caulk neatly, let it cure completely, and your dingy counters will be dazzling once more!