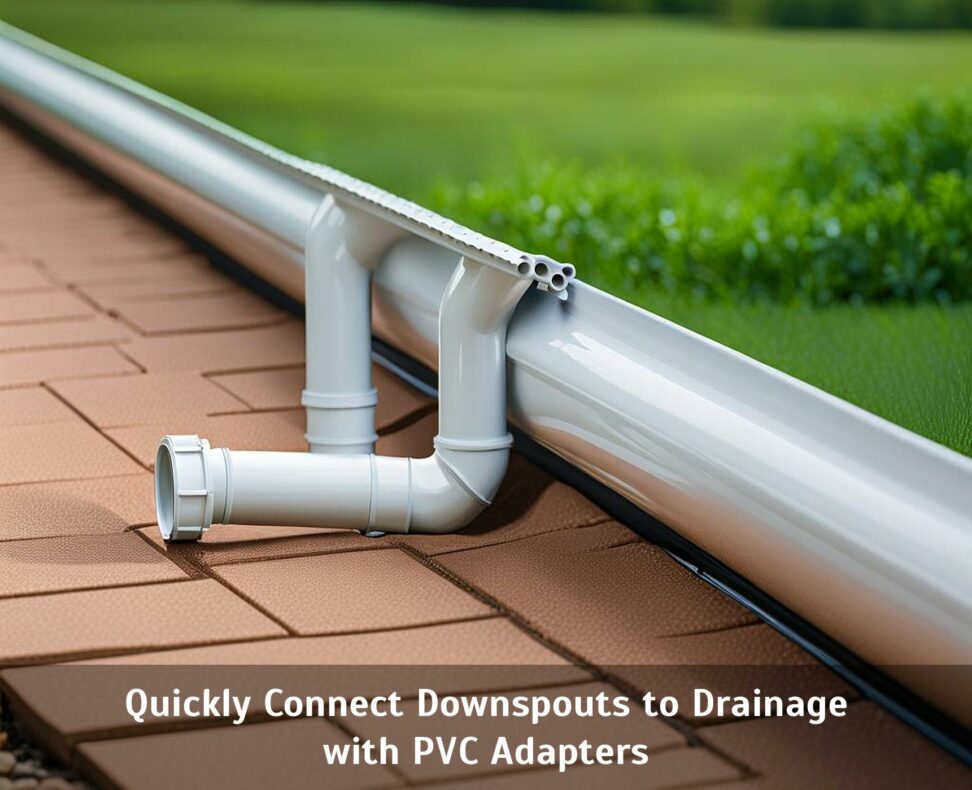
Quickly Connect Downspouts to Drainage with PVC Adapters
During wet weather, downspouts carry huge volumes of water from the roof. Often this results in standing puddles or even thick sheets of ice accumulating right next to the foundation. Both scenarios can lead to expensive issues like basement flooding, wood rot, and dangerous slippery conditions.
Luckily there's an easy solution - PVC downspout drainage adapters. These handy fittings connect standard downspouts to underground PVC pipes. This redirects the water away from problematic areas near buildings. Installation is quick, and materials are inexpensive. With some basic DIY skills, you can tackle this project in an afternoon!
Choosing the Correct PVC Downspout Adapter Size and Type
PVC downspout adapters feature pre-sized connector ports on both ends to match common downspouts and drainage pipes. To find the right fit:

- Measure the interior dimensions of your downspout outlet, usually 2 x 3 inches or 3 x 4 inches.
- Check the size of your drainage system pipes, often 3 or 4-inch diameter PVC.
- Select an adapter suited for both openings.
| Downspout Size | Pipe Size | Adapter Size |
| 2" x 3" | 3" PVC | 2" x 3" x 3" |
| 3" x 4" | 4" PVC | 3" x 4" x 4" |
Additionally, match the adapter material to your downspout type. For example, flexible PVC adapters suit PVC downspouts best. Use heavier non-metallic units for cast iron drains. Check manufacturer specs to ensure compatibility.
Consider Area Drainage Factors
Beyond size, site-specific elements also impact adapter selection:
- Water pressure - Some adapters feature thickened walls or reinforced joints on high pressure units.
- Position and slope - Steeper pitch adapters better suit drainage pipes set deeper underground.
- Sealing method - Caulked seams work for above ground connections exposed to freezing.
Factor in these elements before purchasing materials to prevent leaks or blockages later on.
Step-By-Step: Connecting a PVC Drainage Adapter
Installing a downspout drainage adapter takes careful planning but straightforward execution. With the right PVC solvent welding tools, you can create a reliable water-tight joint in under an hour, even working alone. Here's how:
Preparation
Before mounting the adapter, complete preliminary work:
- Dig out and expose both the downspout outlet and drainage pipe connection point.
- Dry fit the fittings to ensure proper alignment and mark cut lines.
- For solvent welding, cleanly cut both members at right angles removing any burrs or ridges.
Cementing the Joint
With prepped adapter and pipe ends, move onto creating leak-proof bonds using solvent cement:
- Clean surfaces - Wipe away any dirt or moisture with a rag soaked in PVC primer.
- Apply cement solvent - Use a natural bristle brush, apply to all joining members. Avoid puddling.
- Align and insert adapter - Working quickly, mate parts completely while cement remains wet.
- Hold - Keep firmly together for 30 seconds to prevent slippage as bond sets.
- Wipe away excess cement -- Use a clean rag to remove any dripping solvent.
Allow several hours for curing before water testing. The bond will reach full strength in around 24 hours.
Attaching the Downspout
After the discharge pipe connection hardens, shift focus to mounting the downspout:
- Position adapter under downspout outlet and mark holes.
- Pre-drill openings using a masonry bit for metal downspouts.
- Place adapter and use sheet metal screws to firmly anchor top-side.
- Seal seams - Caulk perimeter edge gaps and screw heads with exterior silicone.
The attached adapter offers instant drainage for roof runoff, keeping water safely away from the structure perimeter.
Testing and Ongoing Maintenance
Before finishing up, validate your downspout discharge setup functions correctly:
- Flush system with garden hose, inspect joints for any moisture seepage.
- Monitor area during rainfall, ensure drainage flows away with no pooling.
- Make slope adjustments if discharge runs slowly or water accumulates.
Like other exterior systems, maintaining drainage helps longevity. Follow these upkeep tips:
- Clear debris from drain grates and discharge outlets seasonally.
- Check pipe joints and adapter connections for any loose parts or leaks.
- In cold climates, consider temporary downspout extensions to keep winter drainage away from paths.
Paying attention to drainage needs saves hassle down the road. But should issues still pop up, don't hesitate to call for professional drainage service assistance.
Extreme cold brings unique drainage challenges requiring urgent response:
- Blocked discharge from ice or snow - Carefully pour hot water over affected areas to restore flow. Salt around the drain may also help melt some blockages overnight.
- Burst interior pipes due to seepage - Immediately locate main shut off valve and stop water supply. Call emergency plumbing services to assess and repair damaged lines.
Left unaddressed, cold weather drainage problems lead to hazardous flooding and slick surfaces. Act promptly if winter weather impacts drains or pipes.