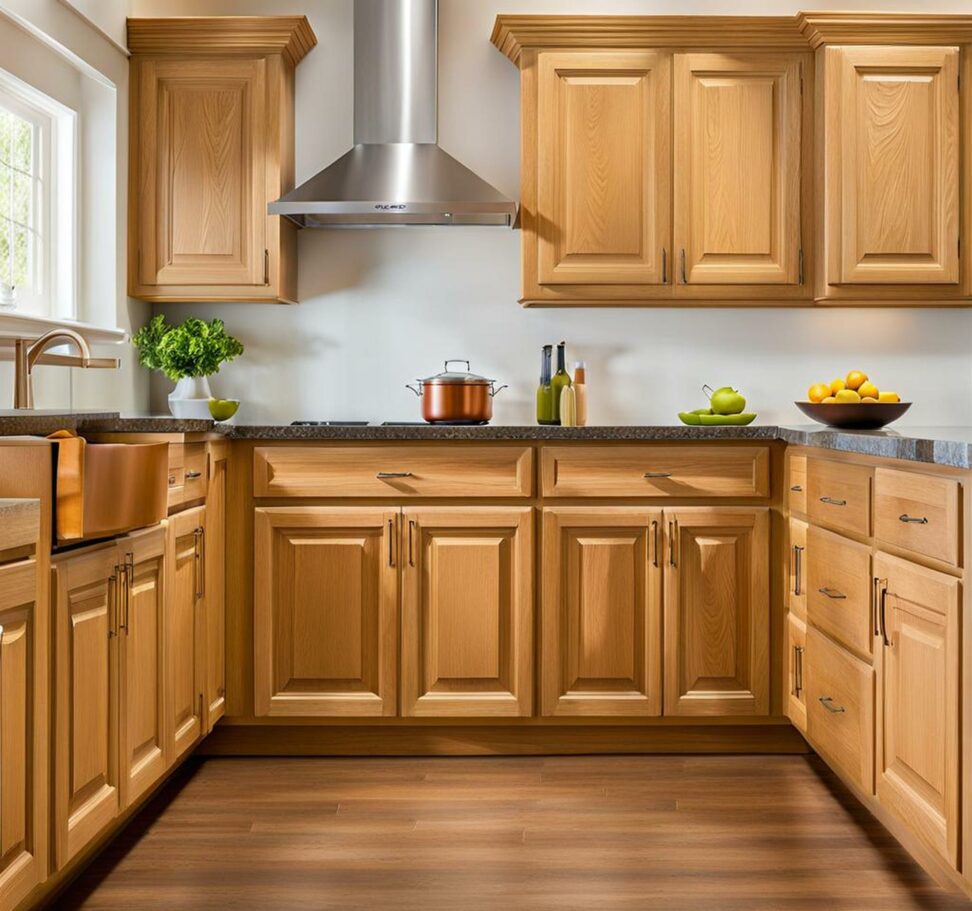
Paint Your Way to Picture-Perfect Oak Kitchen Cabinets
If your outdated oak kitchen cabinets are making your kitchen feel stuck in the past, a fresh coat of paint can provide an affordable facelift that transforms the entire space. Painting over those dated golden oak finishes delivers stunning results, taking your kitchen from drab and dreary to light, bright, and modern with just a couple cans of paint. But painting oak cabinets takes patience and proper techniques to get a flawless, professional-looking finish that withstands daily use.
With these tips, you can paint your oak kitchen cabinets like a pro and enjoy a contemporary, picture-perfect kitchen.

Prep Work is Key for a Smooth, Seamless Finish
Achieving a flawless, smooth finish when painting oak cabinets starts with thorough prep work. Here are the key steps:
- Remove doors, drawers, and hardware. Painting is much easier with everything removed.
- Clean thoroughly to remove grease and grime. TSP or a degreaser work well.
- Sand to rough up the surface so paint adheres better.
- Seal tannins with a wood conditioner or oil-based primer.
- Apply a high-quality primer designed for cabinets.
- Fill in the oak grain with a thin layer of spackle.
- Sand the spackle smooth for the best results.
Rushing through this stage can lead to issues like peeling, so take your time to do it right. The upfront effort pays off later with a smooth, durable finish.
Choosing the Right Paint and Supplies
In addition to top-notch prep, having the right painting products and tools helps ensure success when taking on oak cabinets. Consider these factors when selecting paint:
- Paint Type: Enamel, acrylic, and epoxy paints all work well. Enamel provides a very durable finish.
- Sheen: Satin is popular for a subtle sheen. Semi-gloss makes wiping up spills easy. High-gloss has a luxurious shine.
- Brushes: Angled sash brushes reach corners. Quality trim brushes apply paint smoothly.
- Rollers: Microfiber or foam rollers help paint faster than brushes.
- Sprayers: Airless sprayers allow experienced DIYers to achieve professional results.
Safety gear like masks, drop cloths, and proper ventilation are a must when painting indoors.
Step-by-Step Painting Process
Once prepped, follow these key steps for flawless results:
- Apply 1-2 coats of high-bond primer.
- Lightly sand the primer before painting.
- Use 2-3 thin coats of cabinet paint for best results.
- Sand lightly between coats to ensure a smooth finish.
- Remove dust before applying the final coat.
- Let paint fully cure for several days before reinstalling doors.
- Consider a protective clear coat for added durability.
Thin coats, proper cure times, and sanding between layers prevents brush marks and drips in the finish.
Avoid Common Mistakes for Success
Painting oak cabinets takes patience and care. Avoid these common mistakes:
- Rushing through prep work instead of thoroughly cleaning, sanding, and priming
- Applying paint too thick so it drips and sags
- Forgetting to paint cabinet interiors and the insides of doors
- Leaving doors hanging while painting instead of removing them
- Not allowing adequate dry time between coats
- Using too few paint coats for complete coverage
Correcting mistakes means a lot of extra sanding and repainting, so taking the time to do it right the first time is key.
Transform Your Kitchen with Painted Oak Cabinets
The dramatic before and after pictures speak for themselves--painting tired oak cabinets white or another light, neutral tone can utterly transform your kitchen. suddenly, your space looks fresh, contemporary, and bright instead of dated and dark.
Here are some tips for completing your kitchen's makeover:
- Update hardware like knobs and pulls for extra style
- Add a colorful mosaic tile backsplash
- Change out laminate countertops for quartz or granite
- Replace old floors with on-trend vinyl plank or tile
On a budget? New hardware and a coat of paint can still make a big visual impact. This affordable upgrade brings new life to your kitchen.
Frequently Asked Questions
How durable is painted oak?
Properly prepped and painted oak cabinets hold up very well to daily use. Quality primer, paint, proper cure times, and a protective topcoat help ensure a long-lasting finish.
Does paint adhere well to oak over time?
Oak's porous surface allows paint to adhere tightly when sanded and primed first. Adhesion promoters can also be used for extra grip.
How does humidity affect painted oak cabinets?
High humidity can cause paint to bubble, peel, or develop a chalky look over time. Epoxy paints offer better protection.
Painting oak cabinets delivers a dramatic transformation without the high cost of new cabinetry. With proper products, thorough prep, and attention to detail, you can paint oak cabinets like a professional for results that look flawless.
For step-by-step guidance and pro tips for ensuring painted perfection, get the complete eBook on DIY painting oak kitchen cabinets.