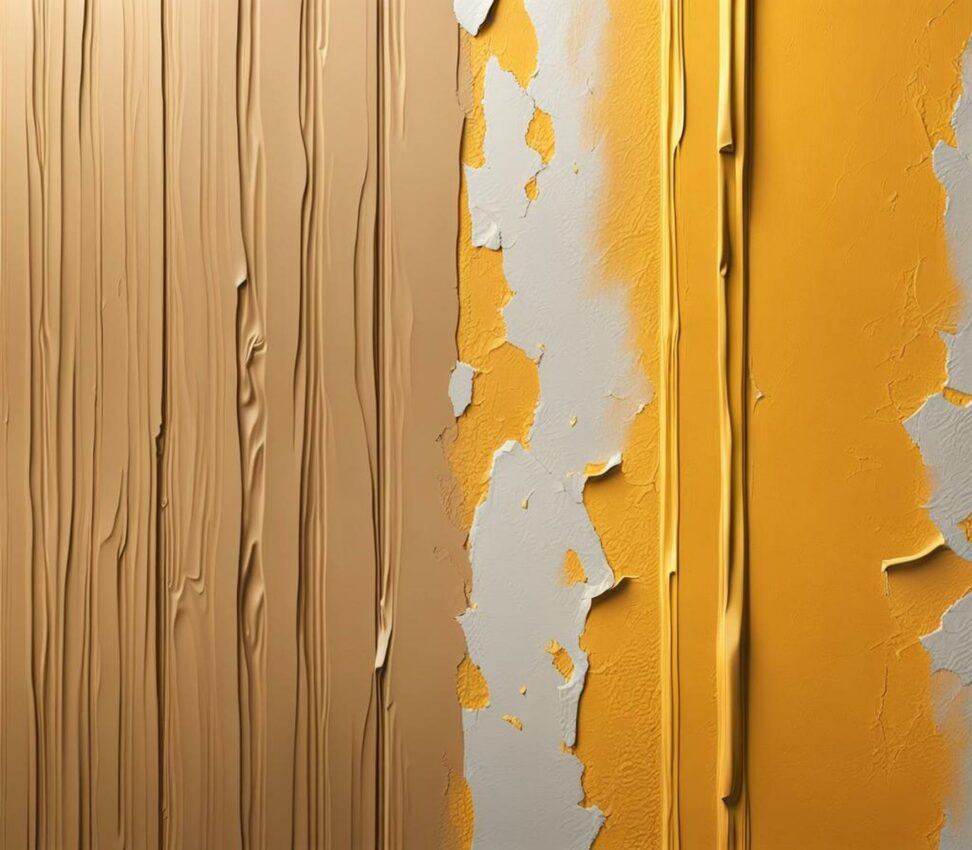
Paint Peeling? Transform Even the Most Textured Walls With Ease
If you've ever tried to paint walls with bumpy plaster or heavy textures like knockdown or popcorn, you know it can be a messy, frustrating endeavor. All those peaks and valleys make it hard to get full paint coverage without losing the underlying pattern. And cutting in crisp edges? Nearly impossible. While the texture may add unique visual interest, it often leads to uneven paint jobs that highlight every flaw. Fortunately, armed with the right supplies and techniques, even novices can get pro-looking results on textured walls.
Follow this comprehensive guide to flawlessly transform those textured surfaces, regardless of how pronounced the texture. With just a little extra prep and a few specialized painting tools, you can achieve a smooth, consistent finish.
Choosing Paints and Supplies Tailored to Texture
To ensure your paint glides on effortlessly, choose a high-quality latex formula specifically designed for textured surfaces. Look for "textured wall paint" on the label. These paints contain binders that help the color pigments penetrate into the valleys of the texture. For best hide, flat or matte sheens are ideal.
Priming textured walls before painting allows for superior adhesion and coverage of the topcoat. Opt for an acrylic primer that states it can be used on textured, porous, or masonry surfaces. Apply a tinted primer close to your finish wall color for optimal results.

Painter's tape will be your best friend for keeping edges along wall trim and ceilings neat. Choose versions made for delicate surfaces, which are less likely to peel paint when removing. For cutting in along ceilings or borders, a small trim brush with angled bristles provides better control.
The key to getting paint into all the nooks and crannies of texture is the roller. Select a cover with a thicker nap, around 3/4" or more. It holds more paint to fully coat textured expanses. A roller frame extender lets you reach ceilings without climbing ladders.
Perfectly Prepping Textured Walls
With heavy textures, taking time to properly prep ensures that paint fully adheres and tidies any imperfections:
- Fill dents, holes, and large cracks with drywall compound. Allow to fully cure before sanding smooth.
- Lightly sand glossy areas for better paint tooth. Try a pole sander for ceilings and high walls.
- Remove any loose texture material by vacuuming walls thoroughly before painting.
- Clean surfaces with a lint-free cloth dampened with soapy water.
- Take down wall plates and remove outlet covers. Tape off with painter's tape.
- Seal unpainted surfaces like trim and windows with painter's tape and plastic sheeting.
Once prepped, spot prime any repaired areas before painting the entire surface. Now you've got a blank textured canvas!
Cutting in Clean Lines Takes Patience
Cutting in along edges with heavy texture can create a messy, blurred line between wall and ceiling. Here are some tips to get color right up to trim or borders without bleeding:
- Plan to tape off areas like baseboards, windows, and doors before cutting in walls. Use fine line tape for precision.
- Where cutting in ceilings, first apply a strip of tape to the edge, then paint the ceiling color right up to the tape line.
- Angle brush to a 45 degree position, using the tip to "cut" the shape. Don't overload with paint.
- Gently sweep brush against the ceiling line using light pressure. Wipe excess paint off frequently.
By using a delicate touch and the original ceiling color as your guide, you can achieve perfect lines even on heavily stippled ceilings.
Rolling On Paint For a Flawless Texture Finish
Your roller cover choice makes all the difference for easily coating textured expanses. Follow these steps for smooth results:
- Pour paint into a roller tray and completely saturate the roller cover without overloading it.
- Use a W pattern across the surface, then feather out the middle in a V shape to blend.
- Redirect roller to hit every part of textured surface, overlapping strokes.
- For ceilings or high walls, use an extension pole to roll paint overhead without ladders.
- Once the first coat is dry, apply a second coat to completely even out the color and texture.
Maintaining a wet edge as you go prevents lap marks on textured walls. Touch ups blend right in with multiple coats.
Avoid Common Paint Snafus on Textured Walls
It's easy for painting textured walls to go horribly awry, with drips or uneven coverage. But armed with the right techniques, you can sidestep these all-too-common snafus:
- Drips - Hair-like drips form when too much paint is applied. Prevent them by not overloading roller and avoiding deep nap covers.
- Brush strokes - Visible cut-in lines happen when applying too much pressure. Lighten your touch with the brush.
- Missed spots - Not saturating roller enough can leave texture revealed. Roll on more paint until fully concealed.
- Edge bleeding - Paint seeping under tape occurs when not using the base wall color at edges.
Pay attention to these details as you paint, and your textured walls will have a flawless, professional finish.
You've conquered painting textured walls, but don't skip these last steps for a fully polished look:
- Carefully remove painter's tape within 24 hours of painting before edges cure.
- Immediately smooth out drips before they dry using a 5-in-1 tool.
- Reinstall any switch plate covers, outlets, fixtures, or wall decor.
- Properly clean and store all paint supplies like brushes, rollers, and trays.
Stand back and admire your handiwork on those formerly frustrating textured walls. With the techniques from our guide, you can check "painting" off your to-do list for even heavily textured spaces.