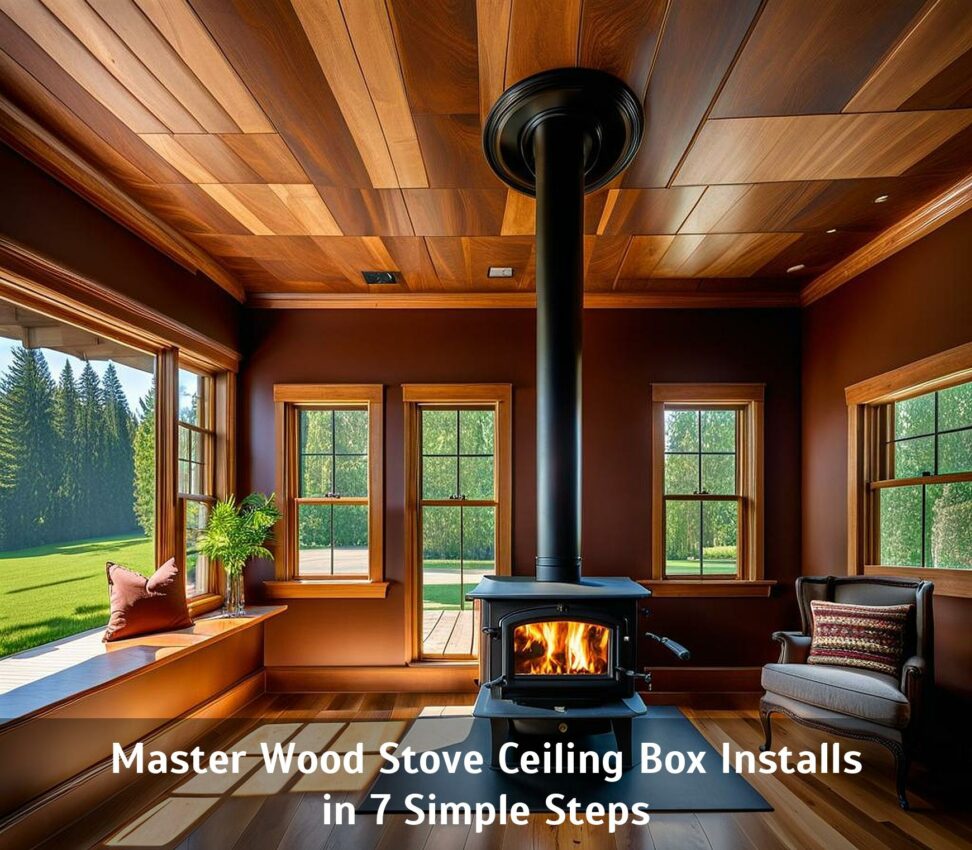
Master Wood Stove Ceiling Box Installs in 7 Simple Steps
Installing a wood stove ceiling box ensures safe, efficient passage of chimney pipe through the ceiling. Proper installation is critical for performance and safety. By following these 7 straightforward steps, you can master ceiling box installation.
We will cover selection, positioning, securing the box, attaching the chimney, clearances, and final details. With a little planning and care, you can handle this important part of wood stove projects.
Step 1: Choose the Right Ceiling Box
Start by selecting the correctly sized ceiling box for your chimney pipe diameter. Common options are 6", 7", 8", and 10" round boxes. Rectangular boxes are also available. Consider material and construction:

- Galvanized Steel: Economical option, prone to rust over time.
- Stainless Steel: More expensive, extremely durable for long product life.
Specialty ceiling boxes feature integrated insulation to retain heat, smart sensors to monitor performance, and wireless connectivity. Select a box rated to handle the weight of your entire chimney.
Insulation and Smart Sensors
New ceiling box technologies integrate insulation to reduce heat loss and smart sensors to monitor temperature, humidity, and performance. This allows for remote monitoring and control via wireless connectivity. Such features ensure peak efficiency.
Step 2: Determine Ceiling Box Position
Carefully plan the location of the ceiling box based on the room layout, stove location, and chimney routing:
- Account for any offsets or turns in the chimney.
- Avoid cutting load bearing structural elements.
Measure twice to minimize later changes. Create a basic diagram mapping out ceilings, joists, rafters, and chimney routing.
Installation Planning
Anticipating installation issues early is invaluable. Mapping structural elements and chimney routing saves frustration, time, and money during projects. Things rarely go exactly as expected, so plan ahead.
Step 3: Cut Ceiling Opening
Use the ceiling box dimensions to outline the opening. Remember to account for any framing or finishing materials. Carefully cut an opening in the ceiling using a reciprocating saw. Take safety precautions:
- Use eye, ear, and respiratory protection.
- Prevent contact with electrical, gas lines, etc.
If needed, frame the opening with extra framing lumber for additional support or ease of installation. This also gives an area for attaching insulation spacers.
Professional Help
For complicated ceiling box installations, consider hiring a professional installer. An experienced contractor can ensure code compliance, identify issues early, and prevent costly problems down the road.
Step 4: Secure Ceiling Box
Before inserting the chimney sections, securely fasten the ceiling box. There are two common methods:
- Nail/Screw : Directly nail or screw box into ceiling framing.
- Threaded Rod : Suspend box from ceiling using structural threaded rod.
Attaching tightly to framing ensures the box can bear chimney weight. It also reduces rattling from stove operation. Evaluate framing first to choose best option.
Weight Ratings
When secured properly, ceiling boxes can reliably hold 500+ lbs of chimney. Confirm box weight ratings and do not exceed. Overloading risks collapse, injury, and damage.
Step 5: Attach Stove Pipe
With the bottom of the ceiling box now safely and permanently installed, the stove pipe can be attached. Simply insert the pipe section into the box's collar:
- Ensure pipe fully penetrates and aligns.
- Secure with 3-4 metal screws for a tight, permanent fit.
The box should now securely support the first chimney section, with the trim collar hiding edges for a clean look.
Leak Prevention
Carefully test pipe attachment for any air leaks or gaps. Gaps can lead to fire spread or carbon monoxide discharge. Caulk if needed.
Step 6: Maintain Proper Clearances
Adhere strictly to clearance requirements between chimney and combustibles (minimum 2"). Use firestop spacers if needed.
- Wood Framing: 2" minimum clearance
- Insulation: Create an airspace from insulation or barriers.
Also check horizontal chimney guidelines. Improper clearance risks dangerous melting or fires.
Fire Prevention
Heat migrating through cracks can ignite framing, insulation or even attic contents. Monitoring clearances prevents this dangerous possibility. Consider a safety buffer beyond minimums.
Once the ceiling box is securely installed, finish routing the insulated chimney sections through the attic and roof. Complete exterior roof flashing as needed to protect from weather infiltration. Before using the stove, test draft flow for obstructions.
Ceiling boxes can be easily incorporated into wood stove installations. Taking time to do it right ensures a safe foundation for efficient system operation.