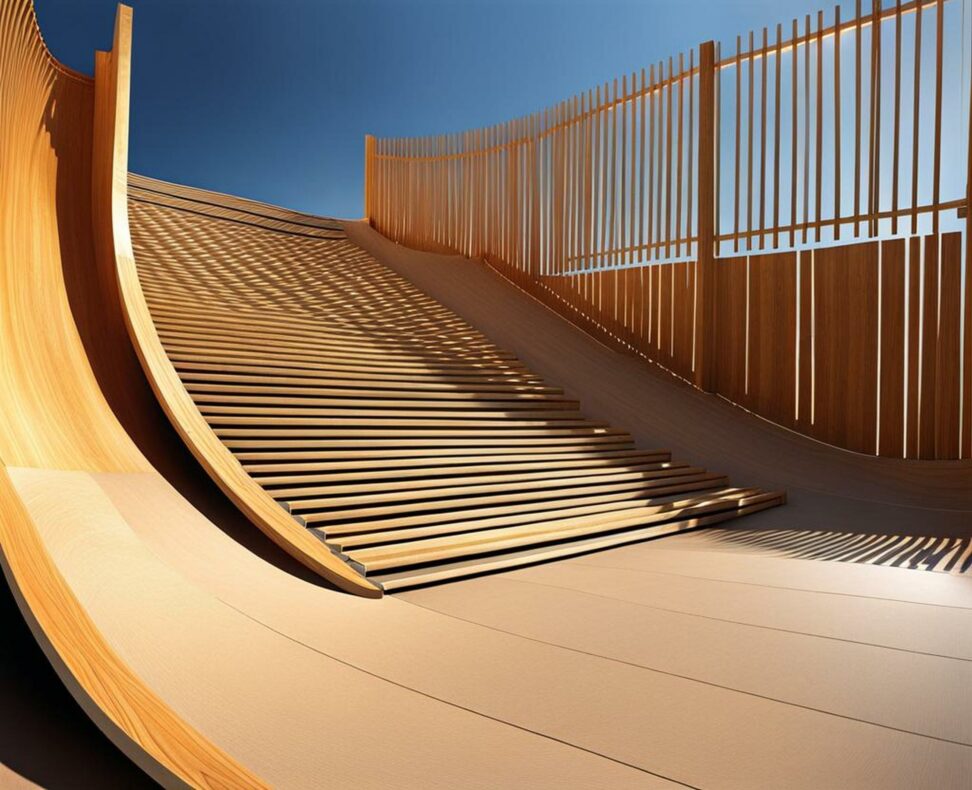
Master Halfpipe Construction With Step-by-Step Plans
Skateboarding halfpipes allow riders to catch big air and perform gravity-defying tricks. But buying a ready-made ramp can be expensive. For the handy skater, building your own halfpipe is a rewarding DIY adventure. With the right set of plans, you can create a custom ramp tailored to your skill level and space.
Follow our step-by-step instructions to build your dream ramp from start to finish.
Introduction
Halfpipes originated in the 1970s as swimmers dug trenches and irrigation ditches to skatepool-style. Over the decades, halfpipe design evolved with new materials and engineering. Today, halfpipes allow riders to generate speed and perform airs well above the lip.

Constructing your own halfpipe offers many benefits compared to pre-fab kits:
- Customizable size - Adjust height, width, and length
- Cost effective - DIY is cheaper than buying pre-made
- Learn new skills - Gain woodworking and construction experience
- Tailor features - Add unique coping, obstacles, and angles
Halfpipes are built from three key components - the riding surface or decking, the sloped transitions on each side, and the flat bottom section connecting them. Precise measurements like the height, width, radius, and angle of the transitions are vital.
Materials Needed
Wood
The most affordable halfpipe material is wood. Pressure-treated plywood sheets make a durable riding surface. 2x4 and 2x6 boards frame the structure and transitions.
Metal
For added strength, galvanized steel pipes and rebar reinforce the halfpipe internally. Avoid rust by using weather-resistant metals.
Concrete
Concrete sidewalls are the most rigid option. But they require advanced skills to build. Consider reinforced concrete for public ramps.
Hardware
Secure the halfpipe together with nuts, bolts, brackets, hinges and more. Use exterior-grade hardware.
Design & Customization
Adjusting Dimensions
Customizing the halfpipe dimensions lets you tailor it to your space and skill level. Generally, taller halfpipes with wide decks offer greater speed and air time for advanced riders. Here are some sizing considerations:
- Height - Adjust from 1 foot up to 8+ feet
- Width - Standard sizes range from 16-20 feet across
- Length - Make as long as your space allows
Remember to maintain proper curve ratios when resizing your ramp.
Ramp Transitions
The transition curves on each side of the halfpipe provide the "vert" that enables riders to traverse back and forth across the ramp. Carefully shape these transitions to achieve smooth, ridable angles:
- Curved transitions - Cut multiple layers of plywood in ascending angles
- Angled transitions - Stack cementboard sheets to the desired slope
A proper vert pitch is around 11 degrees. Double check your angles match legitimate halfpipe plans.
Riding Surface
The decking or riding surface takes abuse from board slides and wipeouts. Use weatherproof marine-grade plywood. Overlay grip tape for extra traction.
Before completing the ramp, sand down any bumps or lips that could trip up riders.
Structural Considerations
Foundations & Framing
Reinforce the structure starting from the ground up. Pour concrete footings below ground level. Build a sturdy frame from 2x4 or 2x6 boards.
Secure boards with exterior wood screws and E-Z Mender plates. Anchor into the concrete footings below.
Supporting Weight
The halfpipe must support the weight of multiple skaters. Reinforce high-stress areas with extra bolts, clamps, and metal flashing. Avoid excessive bounce and flexibility in the frame.
If needed, thicken the plywood decking to handle heavier loads.
Weatherproofing
Guard against delamination, rotting, and warp by weatherproofing the wood. Use pressure-treated lumber, water sealant, and UV-resistant paint. Allow rain drainage via gaps in the decking or holes in sidewalls.
Safety Precautions
Construction Hazards
Building a halfpipe involves working at heights, lifting heavy materials, and operating power tools. Keep safety gears like hardhats, harnesses, gloves, and goggles on hand.
Follow all tool directions carefully. Work with an experienced builder if unfamiliar with construction.
Ramp Safety
Once built, insist riders take proper safety precautions, including:
- Helmet, knee/elbow pads, wrist guards
- Inspecting transitions are smooth before each session
- Adult supervision
- Posted warning signs
Check for loose bolts, exposed nails, and other hazards during regular maintenance.
Step-By-Step Building Instructions
Design & Layout
Adapt your halfpipe design to the available backyard or park space. Sketch out measurements matched to a proven plan with the desired vert, width, and height.
Use diagram blueprints to visualize the halfpipe structure and curve angles. CAD programs help model the ramp virtually.
Framing the Foundations
Lay a level gravel or concrete footing to stabilize the structure. Cut 2x4s and 2x6s for the side supports, then anchor into the footings using rebar or a post-hole digger.
Measure carefully to build symmetrical side walls spaced precisely to the planned width.
Assembling Transitions
Cut curved plywood using a circular saw. Shape smooth, rideable transitions by layering multiple pieces at incremental angles. affix firmly to the base framework.
Alternatively, stack cementboard sheets at an 11 degree pitch to form an angular transition.
Installing Riding Surface
Secure marine-grade plywood sheets side-by-side across the top of the transitions to create the continuous decking. Use exterior wood screws to avoid loosening.
Cover the decking with grip tape for durable traction. Smooth any rough edges or lips.
Completing Ramp
Finally, test ride your ramp and make any adjustments to create smooth transitions. Add metal coping around the rim edges for grinds.
Seal and paint the new halfpipe before opening for riding. You've built a custom skatepark attraction!
Maintaining Your Halfpipe
Protect your DIY investment with proper care. Inspect the ramp for loose bolts, damaged decking, or other wear periodically. Replace any rotten or unsafe wood immediately.
Keep the riding surfaces clear of debris. Reapply weather sealant and paint every year or two.
Constructing a halfpipe requires planning, carpentry skills, and time. But the reward is a unique, custom-built ramp to progress your skills. Use these step-by-step instructions and safety tips to build your dream halfpipe.
You can create an epic backyard skatepark with a well-designed plan. Grab your board and enjoy big air in your personal halfpipe paradise!