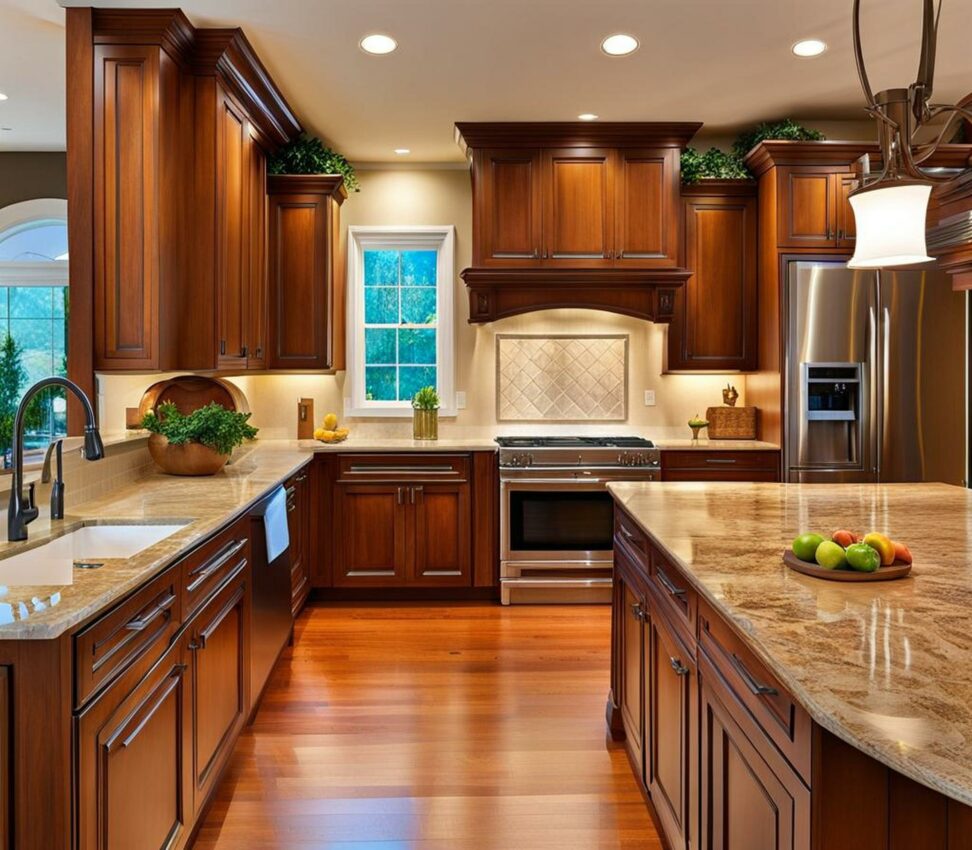
Look No Further - Here's Exactly How to Change the Color of Your Kitchen Cabinets
If you're tired of looking at the same old kitchen day after day, changing the color of your cabinets can give the space an instant facelift. Unlike a full kitchen remodel, a simple paint job lets you transform the look of your kitchen in just a weekend for a fraction of the cost.
Painting or staining kitchen cabinets may seem daunting, but have no fear - with proper preparation and the right materials, anyone can freshen up their cabinets with a bold new color. This comprehensive guide covers everything you need to know, from assessing your existing cabinets to technique for flawless results.

Assessing Your Existing Cabinets
Before doing any painting, take time to thoroughly examine your existing cabinets. Check for any damage, dents, mold, or other issues that need repairing prior to painting. Also identify the type of material your cabinets are made from - options like wood, laminate, and thermofoil each require slightly different prep and paint. Test paint adhesion in an inconspicuous spot to determine if the existing finish will need to be sanded or primed first.
Prep Work is Key
Proper prep work makes all the difference for a smooth, lasting finish. The steps below will ensure the paint adheres perfectly to your cabinets.
Cleaning
Remove all doors, shelves, and hardware using a screwdriver. Clean cabinet boxes, doors, and drawers thoroughly with a degreasing cleaner like TSP. Rinse with clean water and allow to dry fully. Eliminating any residual grease or dirt allows for maximum paint adhesion.
Sanding
Lightly sand all cabinet surfaces using fine 120-150 grit sandpaper. Hand sanding gives you more control than a power sander. Sand just enough to rough up the finish - you don't want visible scratches. Be sure to sand evenly across all surfaces. Dust off cabinets with a dry cloth after sanding to remove any particles before painting.
Priming
Priming ensures a strong bond between the paint and cabinet surface. For laminate cabinets, use an oil-based primer designed specifically for slick surfaces. Wood surfaces can be primed with either oil- or water-based primers. Apply a thin, even coat of primer and allow to fully dry overnight before painting.
Filling Holes
Inspect cabinets and fill any screw holes, cracks, or imperfections with wood filler. Allow filler to dry completely, then sand smooth. Properly filling holes prevents them from showing through the fresh paint job.
Choosing Your Cabinet Paint
Once your prep work is complete, it's time to choose a new color! The options at the paint store can seem overwhelming, but these tips will help you pick the perfect shade and finish for your kitchen.
Consider the Undertones
The undertones of your cabinet material impact how paint colors appear. For example, yellow-based wood pulls cool colors slightly warmer. Factor this into your color selection so your painted cabinets don't look too pink or purple.
Select a Durable Finish
For cabinets, an enamel paint is best. Enamels create a scrubbable, stain-resistant finish that stands up well to bumps, grease splatters, and cleaning. Options include latex acrylic enamel or oil-based alkyd enamel. Semi-gloss is a popular sheen for cabinets.
Test Paint Swatches
Never choose a paint color based solely on the tiny sample chips! Bring home several larger swatches, enough to paint on an actual cabinet door. Moving the swatches around your kitchen throughout the day lets you preview colors in natural light.
Applying Cabinet Paint
Once you've selected the perfect color, it's time to start painting. Work slowly and methodically for best results. Pay special attention to technique - properly painting kitchen cabinets is different than slapping paint on walls or trim.
Should You Brush or Spray?
You can apply cabinet paint either by brushing or with an airless paint sprayer. Spraying often goes quicker and leaves a smoother finish. However, it requires fully masking off the entire kitchen to prevent overspray. Brushing allows more control and works well when just refreshing cabinet fronts or doors.
Use an Angled Brush for Grooves
When brushing, use a high-quality angled sash brush to easily paint grooves and edges. Maintain a wet edge and always brush in the direction of the wood grain. Applying paint evenly in thin, smooth coats minimizes brush marks and drips.
Allow Proper Drying Time
Let each coat dry completely before adding another. Darker colors may require slightly longer dry times. Check manufacturer's directions, as some enamels can be recoated in just 2-4 hours while others take 24 hours or more to fully cure. Lightly sand between coats for better adhesion.
Replace Hardware to Complete the Look
Consider replacing your outdated cabinet hardware with new knobs and pulls that complement your fresh paint color. Once the final coat has fully cured, fill any holes from old hardware with wood filler and paint over them. Reattach doors and drawers with your updated hardware.
Maintaining Your Newly Painted Cabinets
While quality enamel paint creates a durable, washable finish, you'll need to be gentle at first. Allow at least 2 weeks for the paint to completely cure before cleaning cabinets. Use only mild soap and water with soft cloths - abrasive cleaners can leave scratches. Be diligent about immediately wiping up spills and oils during the curing period. Touch up paint as needed over time to fix any chips or scrapes that occur.
Painting or staining kitchen cabinets can be done for a fraction of a full kitchen remodeling project. Proper preparation is crucial for ensuring the new paint adheres flawlessly so your "new" cabinets will hold up for years to come. The end result is a stylish, custom-look kitchen reflecting your personal taste - without having to replace the cabinets themselves.