Level Up Your Deck with Sleek DIY Metal Railings
Upgrading tired deck railings can completely transform your outdoor living space. But hiring a professional to install new railings can be expensive. With the right materials and a DIY approach, you can add beautiful metal deck railings yourself at a fraction of the cost.
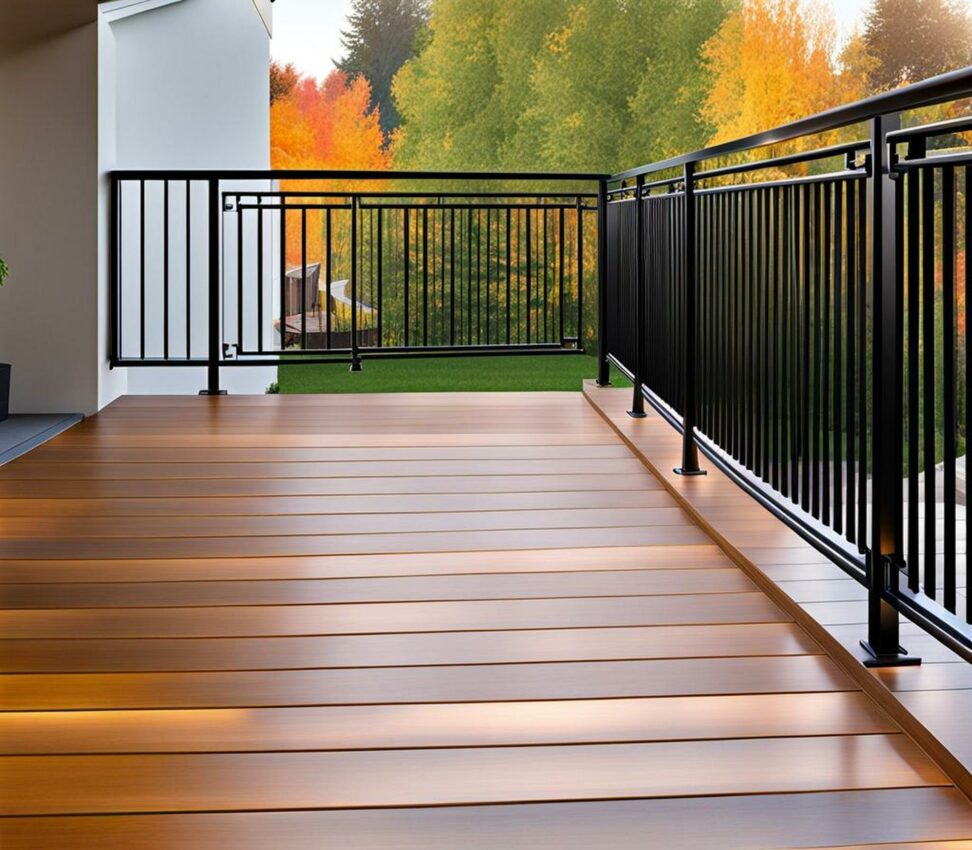
Installing metal railings is an achievable weekend project for many homeowners. These modern railings offer a sleek, contemporary look. Metal is also rugged enough to withstand weather exposure while requiring little maintenance. Follow this guide to learn how to add stylish and safe metal railings to your deck.
Planning Your DIY Metal Railing Project
Careful planning ensures your new metal railings are sized correctly and have a cohesive look. Start by taking key measurements of your deck's perimeter and layout. Mark the planned post locations on the deck framing using a pencil. Account for stairs, corners, and other obstructions that will affect the railing length.
Next, browse railing options to select a style that complements your home. Prefabricated railing kits offer an easier installation than piecing components together. Check that the metal construction suits your climate and meets local building codes for deck rails.
Finally, compile a list of all tools and hardware needed for installation. This includes posts, brackets, balusters, rails, and decorative caps. Having materials ready reduces trips to the hardware store.
Choosing Durable Metals for Your Railing
Stainless steel and aluminum are ideal metals for exterior railings. Their corrosion resistance handles sun, rain, and snow exposure. Powder coated steel provides a durable and decorative finish.
Opt for stainless steel tubes or square posts. Or choose sturdy aluminum posts with an Endurance powder coat. Buying quality materials now prevents hassles down the road.
Selecting the Optimal Railing Style
Metal railings come in a range of styles to match your home:
- Modern cable railings with sleek wire infill
- Classic straight bar balusters spaced along the rails
- Ornamental designs with curved or twisted balusters
Consider railing height as well. A height of 36 to 42 inches provides security while allowing views from your deck. Building codes often regulate railing height.
Installing Deck Railing Posts
With planning complete, it's time to install the metal railing posts. Start by ensuring your deck surface is clean, dry, and structurally sound. Use a level to identify any areas needing reinforcement or leveling prior to railing post installation.
Position each post against the inside of the deck framing. Use proper anchors to attach the post mounting brackets or baseplates through the deck boards. Lag bolts work for wood decking, while concrete sleeve anchors are better for composite boards.
Check that each post is plumb using a level. Adjustable post anchors make it easy to fine tune the alignment. Secure bracing strips to the posts and tighten all hardware for maximum stability.
Spacing Deck Railing Posts Correctly
Proper railing post spacing ensures your finished railings have a smooth, continuous look. Guides typically recommend a spacing between 4 to 6 feet.
However, it's smart to follow the manufacturers recommended maximum span for your specific railing kit. This accounts for the size and strength of the materials used in the railing construction.
Tips for Keeping Posts Plumb
Here are some tips to keep railing posts perfectly straight as you install them:
- Use adjustable post anchors that allow tweaking
- Check for plumb at both directions (front and side)
- Add bracing arms connected to framing
- Align posts with spacers and clamps
Taking the time to properly align and secure posts prevents issues down the line. It ensures your railing is structurally sound and looks crisp.
Adding the Bottom and Top Railings
With the posts in place, turn your attention to installing the horizontal railing components. Start by measuring and cutting bottom rail sections to length based on your planned layout.
Insert each bottom rail section between the posts. Attach the mounting brackets, allowing room for the baluster spacing. Use a level often to ensure the bottom rail remains perfectly horizontal as you work.
Next, insert the vertical balusters into the bottom rail channel. Use uniform spacing for both aesthetics and safety reasons. Building codes dictate a maximum spacing between balusters to prevent accidents.
Position temporary supports or spacers to hold the balusters plumb as you work. Finally, complete the railing by measuring, cutting and installing the top rail sections last to cap the balusters.
Tips for Installing Balusters
Follow these tips for a smooth baluster installation process:
- Tap balusters in gently with a rubber mallet
- Use uniform spacing for the best visual results
- Never exceed maximum baluster spacing codes
- Shim balusters plumb before installing top rail
Take care not to scratch or damage the baluster finish. Take your time to create a straight, consistent baluster line.
Completing Your Metal Railing Project
Apply decorative post caps onto railing posts for a finished look. Post caps are available to match many metal railing designs and colors. For extra illumination, try sleek solar post cap lights.
You can also enhance nighttime use of your deck by installing LED tape lighting along the top or bottom railing surfaces. Connect these lights to existing deck wiring for simple control. Keep lighting spaced evenly for the best coverage.
Maintaining your new metal railings helps retain their eye-catching appearance. Periodically inspect for damage and deterioration. Promptly sand and touch up any problem rust areas to prevent spreading. And remember to reapply a metal protectant sealant each year.
Achieving a Professional DIY Railing Finish
With attention to detail, you can achieve quality results installing your own metal deck railings. Follow these pro tips:
- Precisely measure and cut all railing components
- Ensure balusters are perfectly plumb
- Use consistent baluster spacing for clean lines
- Keep top rails level end-to-end
Take your time checking alignments as you build your railings. Your patience will pay off with durable, beautiful metal railings you can install yourself.
Updating your deck with new metal railings boosts your outdoor living space in many ways. DIY installation allows enjoying these benefits at an affordable cost, including:
- Enhanced safety with compliant new railings
- Low-maintenance, durable metal construction
- Contemporary style that elevates your deck's look
- Ability to customize for your exact deck layout
- Hassle-free cleaning and upkeep over time
It is a manageable project to install sleek metal railings. Transform your deck into an inviting entertainment space your family and guests will love.