Lay New LVP Flooring Over Old Tile in 4 Simple Steps
If you're looking to update the look of your home without undergoing a full tile removal and replacement, installing luxury vinyl plank (LVP) flooring over existing tile can be an excellent option. LVP has become a popular flooring choice thanks to its durability, water resistance, and realistic wood or stone designs. The material is constructed with a vinyl core layered with a clear protective finish, resulting in a tough floor that can stand up to heavy foot traffic. When laid over a tile subfloor, LVP provides a beautiful new surface without requiring a major renovation project.
With some basic DIY skills and the right tools, you can transform the look of any tiled space in your home. We'll cover everything from inspecting and preparing the existing floor to laying and locking the LVP planks. Follow along as we show how updating to luxurious vinyl planking is easier than you may think!
Step 1: Inspect and Prepare the Tile Floor
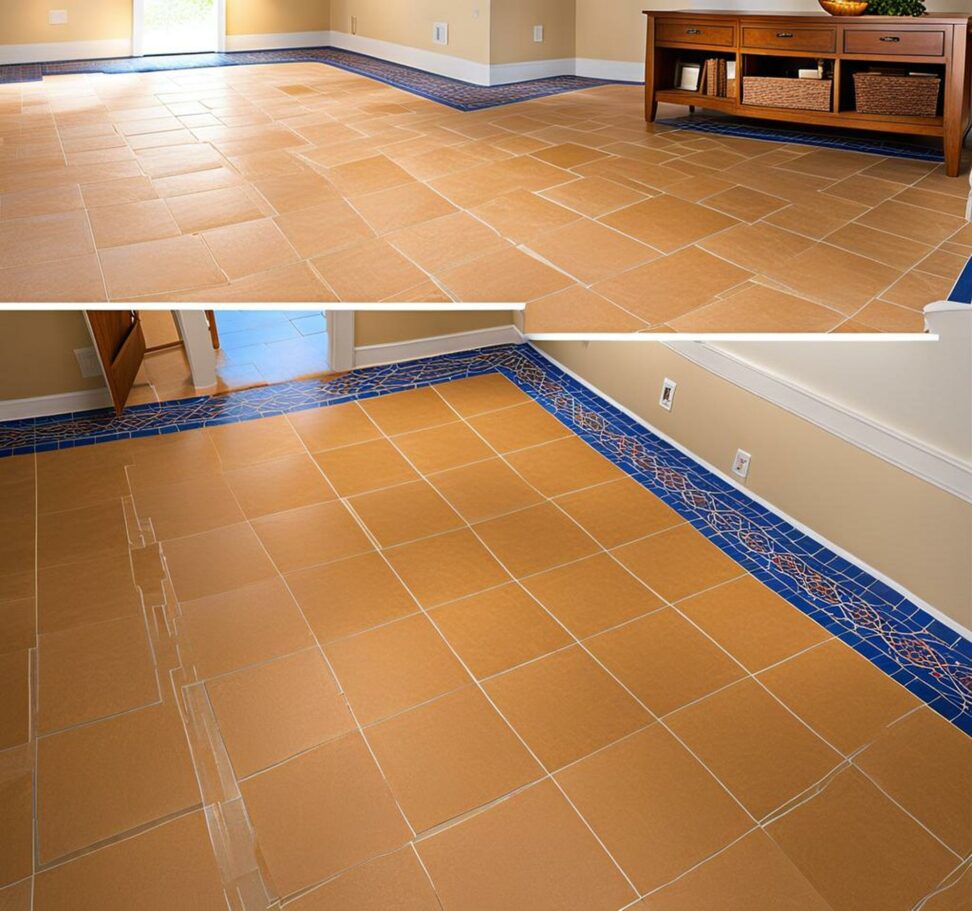
Before beginning the LVP installation, you'll need to thoroughly examine the existing tile and address any issues. Check for cracked, damaged, or missing tiles that may need replacing. Also look for grout lines, lippage (raised edges between tiles), divots, and uneven areas that could telegraph through the new vinyl flooring if not properly addressed.
Check for cracks, uneven tiles, or other issues
Carefully inspect for any grout lines, raised edges between tiles, divots, chips, or cracks in the existing floor. Any indentations or height variations in the subfloor can transfer through to the surface of the LVP if not smoothed out prior to installation.
Clean and vacuum floor thoroughly
Be sure to clean dirt, debris, and dust out of the grout lines and vacuum the entire tile floor before installation. Leftover debris and grime could cause lumps or unevenness under the new flooring.
Fill any cracks or grout lines
Use a vinyl-patching compound specifically designed for flooring preparation to fill any dips, cracks, chips, or grout lines in the tile. This will help level and smooth the subfloor surface.
Use duct tape to create gradual slopes
If you have a few raised or uneven tiles, layer strips of duct tape to build up low areas for a smoother transition. Cut strips into tapered shapes to prevent abrupt height differences.
Check for moisture issues
Use a moisture meter on concrete subfloors or a wood moisture meter for wood substrates underneath tile to check for excess moisture. Address any moisture issues before installing LVP.
Step 2: Level Out Any Uneven Areas
Once you've prepped the tile floor, evaluate any sections that still need leveling or smoothing. Be diligent in identifying uneven spots--these can lead to gaps, peaking planks, and an unprofessional finished look with the LVP installation. Use self-leveling compound and a floor sander to remedy unevenness.
Determine problem spots that need leveling
Mark any indentations, chips, grout lines, or raised edges that require smoothing and filling so you know which areas to focus leveling work.
Apply self-leveling compound as needed
Pour self-leveling floor compound in thin layers over any marked low spots. Use a smoothing trowel to distribute and blend the material evenly.
Allow compound to fully cure
Ensure the leveling compound has fully dried and cured according to manufacturer instructions before proceeding.
Sand down any ridges
Once cured, sand any ridges or unevenness in the leveled areas to achieve a completely smooth, flat surface.
Step 3: Install Underlayment
Laying down a quality underlayment designed for vinyl plank installations helps absorb sound, provide extra cushioning, and create a smooth surface for the flooring. Take care when installing the underlayment to prevent bumps, ripples, and gapping.
Choose appropriate vinyl underlayment
Look for an underlayment specifically made for LVP floors. Check the manufacturer's specs to verify proper thickness and density.
Roll out underlayment over floor
Roll out the vinyl plank underlayment according to the product instructions. Cut it to fit the room dimensions for full floor coverage.
Trim to fit room dimensions
After rolling out the underlayment, trim off any excess material along walls or fixtures using a utility knife.
Tape seams together
Use vinyl underlayment seaming tape to secure the edges and prevent gaps where rolls of underlayment meet.
Step 4: Lay the LVP Planks
Once prep work is complete, you're ready for the fun part--installing the beautiful new LVP flooring. Working carefully, systematically lay the planks in rows, locking the ends together as you go. Maintain proper spacing along walls and fixtures for a professional looking floor.
Plan plank layout
Determine the installation pattern and direction. For best appearance, use a staggered tile layout for the planks.
Start in corner and work outward
Always start by laying planks in a corner and work outward row by row to cover the room.
Connect planks with tongue-and-groove
Lock long edges together first, then gently tap short end joints into place with a rubber mallet.
Use spacers during install
Place spacers along the perimeter and any fixed objects to maintain even expansion gaps.
Finish rows completely
Always finish installing a complete row before moving on to avoid stepping on uneven plank edges.
Updating your dated or damaged tile flooring with new LVP is a fast, easy upgrade. Follow these four key steps--inspect/prep tile, level subfloor, add underlayment, and install planks--and you can experience the luxurious look and feel of vinyl plank flooring over your existing tile. Maintain your LVP floors by promptly cleaning spills, sweeping regularly, and using furniture pads to prevent scratches.
You can avoid the mess and cost of a full tile removal with some time and care. Laying LVP over tile lets you cover up flaws and defects for a fresh floor surface while keeping the underlying structure intact. Get the high-end style of vinyl planking combined with the stability and support of your existing tile in just a weekend with these simple DIY steps.