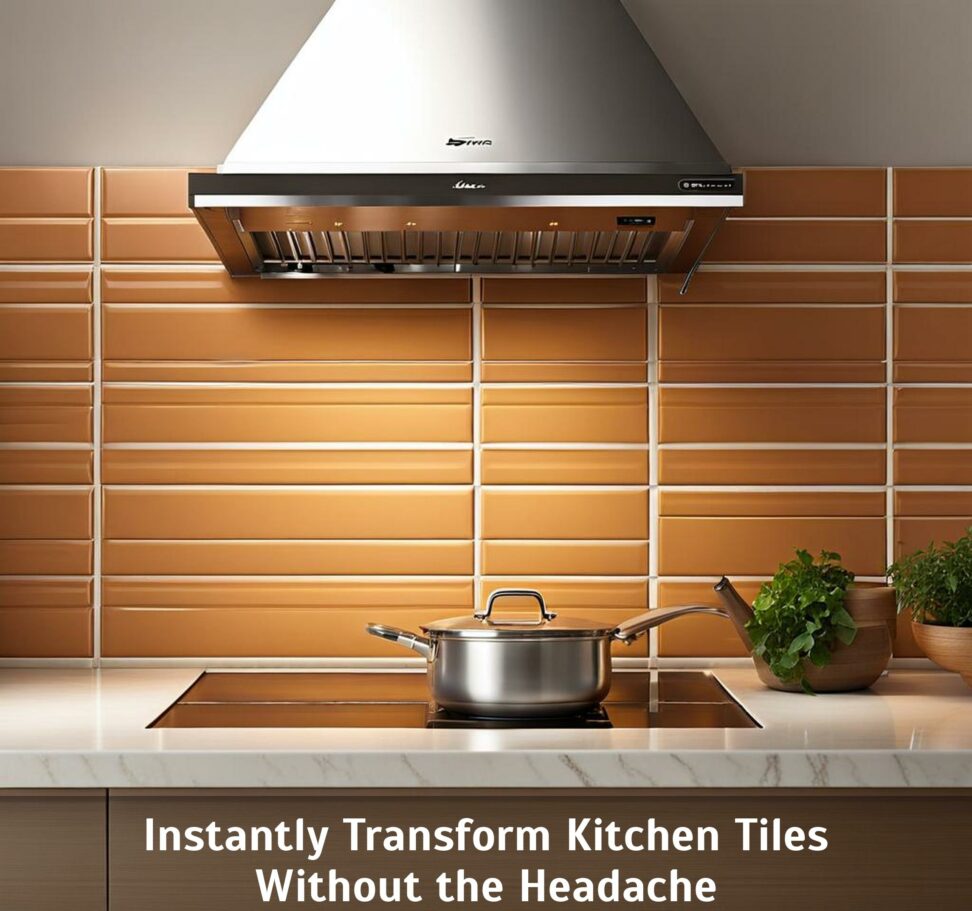
Instantly Transform Kitchen Tiles Without the Headache
Tired of staring at the same outdated kitchen tiles but dread the thought of a lengthy, messy tile removal project? We have great news - with the right techniques, you can easily refresh your kitchen's look without the headaches of tearing out your existing tile.
From clever peel-and-stick products to simple grout refreshers, these transformative tips can give your kitchen a fresh new style while avoiding headaches.
Prep Your Tiles and Workspace for Transformation
Before tackling any tile transformation project, it's key to start with a clean foundation. Clear your countertops and remove any items that could get in the way or damaged during the process. Give your existing tiles a deep clean to remove any grime or residue that could impede results.
Gather all the materials and tools you'll need beforehand based on your chosen tile refresh approach. Protecting surrounding surfaces like walls and floors with drop cloths will also make project clean-up easier.

Refresh Grout for a Brighter Kitchen
Over time, grout between tiles can become dingy and discolored. Refreshing grout lines is an instant way to brighten up your entire kitchen's appearance.
Using a specialized grout cleaner, scrub your existing grout lines to remove dirt and stains built up inside the grout. Let it fully dry. Apply a whitening grout pen to make the grout lines look new again. Adding a sealant will help protect the refreshed grout lines and maintain results.
Stick On Self-Adhesive Tile Decals
Self-adhesive tile decals provide one of the easiest and most affordable routes to tile transformation. These vinyl decals simply stick directly onto your existing tiles with no mess or specialized tools needed.
Tile decals come in a wide range of colors, prints, shapes and sizes to suit any design style. Just peel and stick them onto your old tile, allowing you to give your kitchen an entirely new look in minutes. You can redecorate again whenever the mood strikes since many tile decals can be removed or repositioned multiple times without tile damage.
DIY Peel-and-Stick Tile Option
Peel-and-stick tiles present another excellent adhesive-free route to kitchen tile renewal. These self-adhesive tiles have a built-in sticky backing so no glue or mortar is required for application.
Measure your backsplash or floor space and cut the peel-and-stick tiles to size. Simply peel away the adhesive backing piece by piece and press onto your existing tiles for an instant transformation. Going around corners or outlets is simplified since you can cut these tiles with basic tools.
Paint Tiles for Bold, Modern Look
Looking to change your tiles to a trendy, eye-catching color? With the right tile paint, you can paint over ceramic, porcelain or other robust tile materials to totally transform their appearance.
Pick a high-adhesion formulation specifically made for use on tile surfaces and properly prepare and prime the tiles beforehand. Using angled paint brushes, apply two coats of tile paint using even brushstrokes. Let the paint cure fully between coats and for 24-48 hours after final application.
Swap Out Backsplash Tiles
Because they take up less overall space, backsplash tiles provide a prime opportunity to switch things up without undergoing an entire kitchen renovation. Keep your current floor or wall tiles while giving the backsplash area an update.
Measure and cut your new backsplash tiles to fit around existing perimeter and corner tiles. Remove any old caulking and thoroughly clean the surface. Apply tile adhesive on the area before firmly pressing the tile into place. Finish by regrouting and sealing for a stunning new backsplash.
Insert New Accent Tiles
For a pop of color or texture, consider adding new accent tiles rather than changing everything. Keep costs down while making a noticeable impact by using accent tiles selectively.
Decide on locations suited to your goals - maybe behind the stove, along the kitchen's focal wall, or near the sink. Cut accent tiles to fit and set into place with adhesive. Finish surrounding edges with coordinating grout.
Cover Tiles Completely with Contact Paper
Prefer to cover tiles rather than change their appearance? Contact paper offers the power to overlay existing tile with any pattern or color you like.
Contact paper with texture hides imperfections well for an updated look. Measure contact roll width needed to cover your tiles. Cut contact paper pieces to fit your tile space, allowing extra border. Slowly peel off backing paper and apply directly to tiles, smoothing bubbles and edges.
Our top DIY tile transformation tips allow for total kitchen updates without requiring tedious tile demolition or expensive remodeling costs. Which option - grout refreshing, tile decals, peel-and-stick tiles, paint, contact paper or backsplashes - fits your style and budget?
Breathing new life into your kitchen tiles no longer means days of dust, noise and headaches when handy tile transformation tricks do the dirty work for you. Use these simple makeover methods to instantly see your kitchen in a fresh, fashionable new light this weekend!