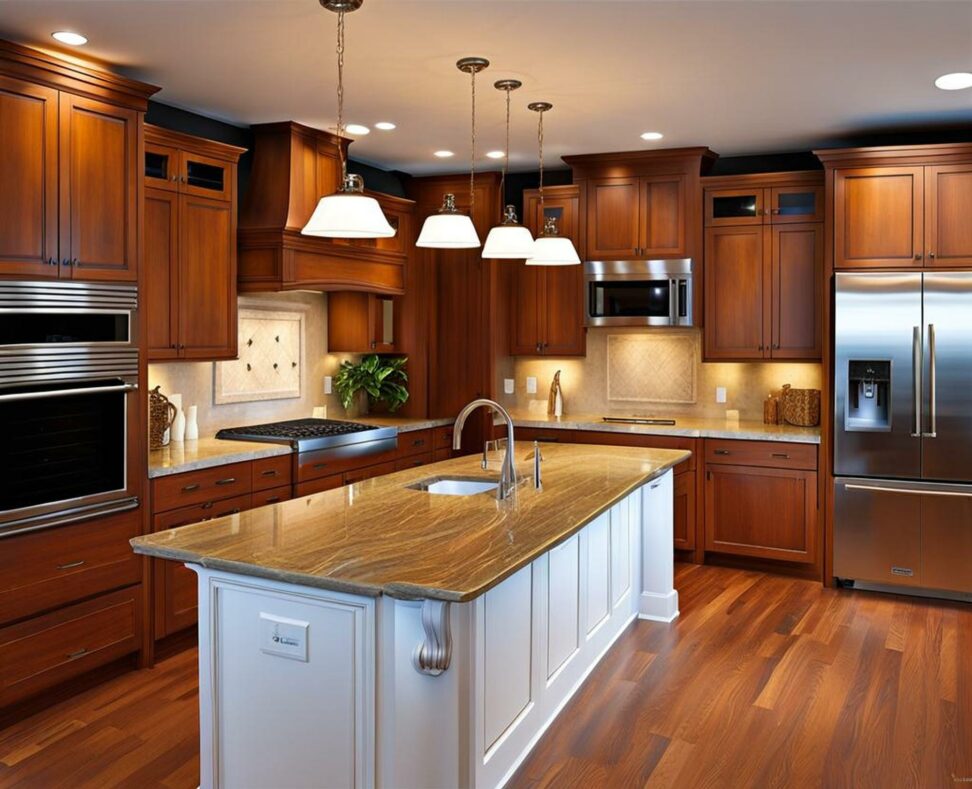
How to Install Recessed Lighting and Improve Any Kitchen's Ambiance
Is your kitchen stuck in a design time warp thanks to an outdated, fluorescent light box? This type of ceiling fixture used to be common in kitchens, but it casts harsh shadows that can leave countertops dim. Replacing a light box with recessed lighting is an impactful upgrade that can completely transform your kitchen's ambiance.
With recessed or "can" lights, you get focused beams of light right where you need them most. The result is a brighter, more stylish, and functional kitchen perfect for cooking and entertaining. Read on to learn how to install recessed lighting in a few simple DIY steps.
Materials You'll Need
Before starting any electrical project, it's smart to consult a professional electrician if you have any doubts about your abilities. For confident DIYers, you'll need:
- Recessed light housings ("can lights")
- LED bulbs
- Electrical wire and connectors
- Drywall screws
- Drill/driver & drill bits
- Stud finder
- Ladder
- Safety equipment like glasses and gloves
Ensure all electrical components are UL-listed and rated for their intended use. Purchase quality LED bulbs to take advantage of energy savings and longevity.

Step 1: Map Out Your Lighting Layout
Careful planning is crucial for properly lighting a kitchen. As a general rule, recessed lights should be spaced 4 feet apart. Start by standing in your kitchen and thinking about your typical tasks - where you chop, cook, wash dishes, etc. Mark these key areas to illuminate.
Avoid placing lights directly over the sink or range, as you don't want glare in your eyes during tasks. Check for potential issues like roof beams, ductwork, and cabinets that could interfere with placement. Use a stud finder to mark stud locations and plan to install lights between them.
Tip for Maximizing Ambiance
Combine your recessed lighting with task lighting under upper cabinets to eliminate shadows on countertops. This focused illumination is perfect for food prep and cooking zones.
Step 2: Cut Out Holes for the Light Housings
After you've marked the exact spots, use a drywall saw to cut holes between studs for each recessed light housing. Wear protective glasses and gloves during this step to avoid injuries from dust and debris. The holes should be slightly larger than the housing diameter to allow room for adjustments.
Before cutting, double check your measurements and markings to avoid costly mistakes. Also verify wires or plumbing don't run through your planned locations. Turn off power at the breaker before starting any electrical work.
Tip for Maximizing Ambiance
For extra visual drama, install upside down "eyeball" recessed lights to graze the kitchen ceiling and highlight decorative beams or rafters.
Step 3: Install the Recessed Light Housings
After cutting the holes, you can install the can light housings. Feed the wiring through the holes as you maneuver the housing into position. Secure each fixture to the wood joists using the provided hardware. Ensure housings are straight and anchored tightly so drywall can be patched up flush.
Tip for Maximizing Ambiance
Choose recessed lights with adjustable heads to aim light exactly where needed. Narrow flood beams work well for task lighting while wide floods provide general ambient lighting.
Step 4: Connect the Wiring
Making the electrical connections is where you really need skill and experience. If available, hire a professional electrician to handle this tricky step. They can ensure proper connections and integrate lights into existing circuits safely.
For DIYers, start by turning off power at the main breaker panel. Join all the neutral white wires from the lights together, and connect all the hot black wires together. Use provided wire connectors and electrical tape for secure, waterproof connections.
Tip for Maximizing Ambiance
Install your recessed lighting on a dimmer switch so you can adjust the mood and ambiance from bright task lighting to soft, relaxing lighting.
Step 5: Install LED Bulbs and Test
Insert LED bulbs that are compatible with your new recessed cans and rated for enclosed fixtures. LEDs run cooler and will last over 10 years for maintenance-free operation. Before securing trims, turn the power back on and test all lights for proper functioning.
Make any necessary adjustments to the housing position or light aim. The lights should distribute illumination evenly without any dark or overly bright spots.
Tip for Maximizing Ambiance
Try LEDs in different color temperatures - warm 3000K for relaxing ambiance or cool 5000K for an energizing kitchen. Mix and match for fun!
Step 6: Patch Drywall and Finish Ceiling
With all lights tested and properly aimed, you can finish up by patching drywall. Measure and cut pieces to fit snugly around each housing. Mud seams, let dry, then sand until smooth. Apply primer and paint for a seamless look.
If needed, apply new ceiling texture to match the rest of the kitchen. Install light trim pieces and you're done illuminating your kitchen in style!
Recessed lighting is a stellar upgrade for outdated kitchens plagued by fluorescent light boxes. With strategic placement and energy-efficient LEDs, the improvements to both aesthetics and function are dramatic. For most DIYers, professional help with the electrical wiring is recommended. But installing the cans, patching, and finishing are achievable weekend projects.
Just follow the basic steps outlined above, and soon you'll be cooking and socializing in a beautifully lit dream kitchen. No longer will your space suffer dim, dreary lighting and harsh shadows. Your kitchen will become the heart of your home with welcoming, stylish ambiance for years to come.