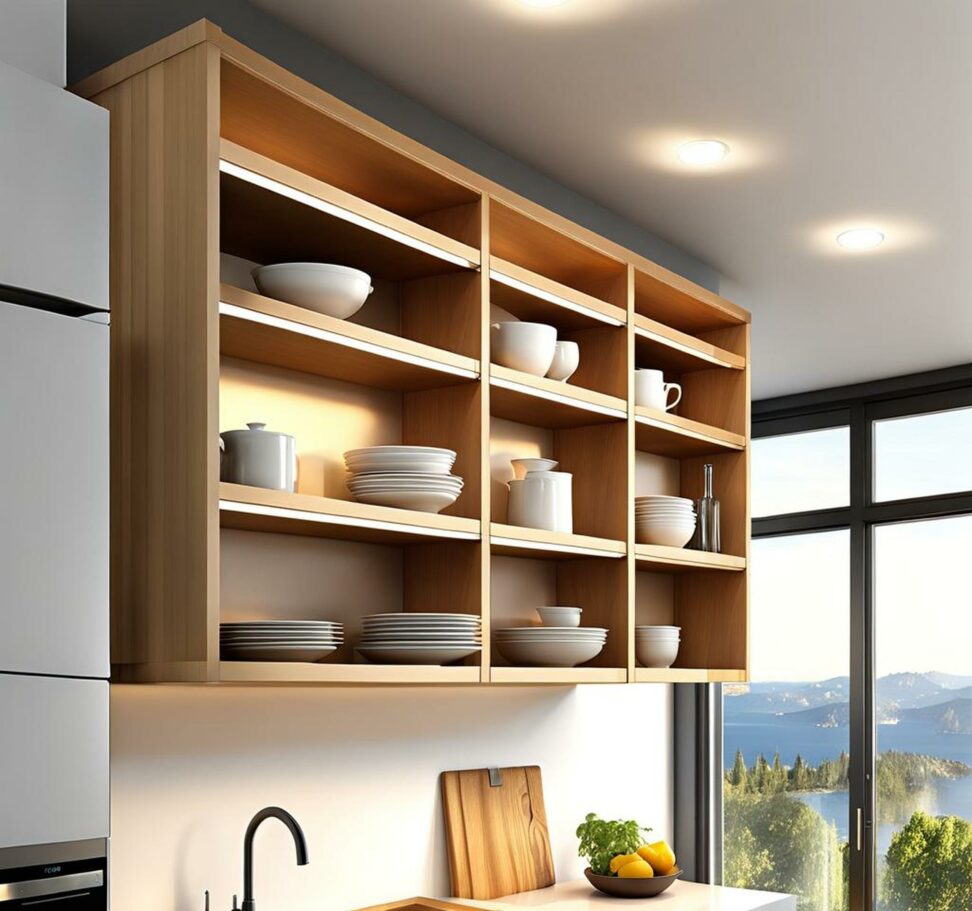
Hang Shelves from Your Kitchen Ceiling in 3 Easy Steps
If your kitchen is tight on space but you still need more storage, hanging shelves from the ceiling can be a stylish and functional solution. With some planning, the right materials, and a bit of DIY spirit, you can install hanging shelves that maximize your kitchen's potential without the need for a full remodel.
From picking the perfect spot to decorating and filling your new shelves, we've got you covered. Let's get started!

Step 1 - Planning and Measuring
The first step when taking on any new project is proper planning and preparation. Installing hanging kitchen shelves is no different. There are a few key things you'll want to think about before breaking out the power tools.
Choosing a Location
First, survey your kitchen layout and decide the ideal spot to install your shelves. Consider existing traffic flows, appliance clearance zones, and where you need storage the most. Also, make sure there are ceiling studs or solid anchors to securely mount heavy duty shelf brackets.
Allow adequate clearance beneath the shelves - usually 15-18 inches above countertops or islands. Measure carefully to ensure your shelves will fit the space.
Shelf Types
Next, choose what type of hanging shelves will work best. Mounted shelves attach directly to the wall or ceiling. Hanging shelves are suspended from the ceiling by wires, chains, ropes, or brackets. Consider materials like wood, metal, or glass based on your needs.
The possibilities are endless - open ledge, closed cabinet, or industrial pipe shelves. Take measurements to ensure you get shelves sized correctly.
Measuring the Space
Use a stud finder to locate ceiling joists or supports. Take careful measurements of ceiling height and layout to determine shelf dimensions, spacing, and mounting points. Mark the center of studs with painter's tape for easier installation.
For sloped ceilings, adjustable mounting brackets can help keep shelves level. Use shims to evenly install shelves on uneven ceilings. The key is making sure shelves are solidly and safely secured.
Step 2 - Installing the Mounting Hardware
With planning and prep complete, it's time for the fun part - installing your shelves! For this step, you'll need the right mounting hardware for your ceiling type, shelf brackets, and some basic DIY tools.
Hardware Needed
For drywall, toggle bolts are an easy option. For ceiling joists, use sturdy lag screws long enough to penetrate the wood. You can also use floating shelf brackets secured to studs with screws.
A backboard attached behind shelves provides added stability for heavy items. Run any needed electrical at this point as well.
Mounting the Brackets
Drill pilot holes for your lag screws or anchors at your pre-marked stud center points. Follow the shelf bracket instructions for proper spacing and layout. Double check all measurements before installing anything permanently.
Then mount the shelf brackets securely into the ceiling. Heavy items require more robust brackets anchored solidly in place.
Hanging the Shelves
With brackets installed, attach your shelves using the provided shelf hardware. Ensure shelves are completely level. If needed, install child safety locks to prevent accidents.
Step 3 - Styling and Adding Functionality
Once your shelves are securely installed, it's time for the fun creative part - decorating and filling your new storage space! Here are some tips to maximize both form and function.
Decorative Touches
Add some personal flair with plants, artwork, baskets or your favorite kitchen items. Install puck lights or LED strips to provide task lighting. Paint or stain the shelves to complement your decor.
Maximizing Storage
Use risers, hanging baskets, or additional smaller shelves to double your storage capacity. Install shelves at varying heights to accommodate different items.
Pull-out shelves make retrieving items easy without needing a step stool. Get creative with ways to stash kitchen tools and appliances.
Make a Statement
With the right shelves, you can create a stunning focal point in your kitchen. Salvage old window frames or use ornately carved wood. Add a pulley system for raising and lowering. The options are endless!
With the right planning, hardware, and styling, installing hanging shelves from your kitchen ceiling is a simple DIY. Not only do you gain storage and organization, but you also add character to your space.
In just three steps - planning, installation, and decorating - you can completely transform a tired kitchen into an enviable, modern space. So grab your toolbox and get ready to unleash your kitchen's potential with amazing hanging shelves!