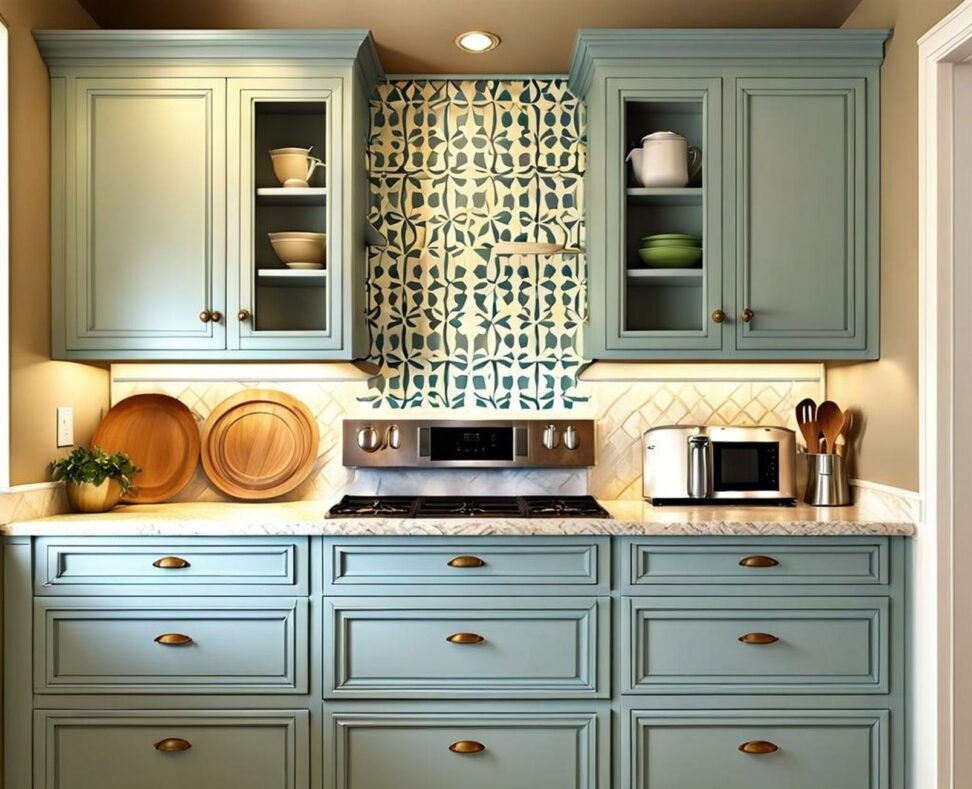
Give Your Kitchen Cabinets a Makeover with Easy Stenciling
Is the sight of your outdated, boring kitchen cabinets bringing you down? Do you dream of a kitchen with stylish cabinets that reflect your personality? With the magic of stenciling, you can easily transform the look of your cabinets without taking on a full kitchen remodel.
Stenciling allows you to add customized designs, textures, and colors to make your cabinets into a true focal point. This simple painting technique opens up endless possibilities for upgrading your kitchen on a budget.

Choosing the Perfect Stencil Pattern
With so many stencil options available, deciding on a pattern can be tricky. Start by thinking about the overall look and function of your kitchen.
A floral or vine motif might suit a cottage kitchen, while geometric patterns feel modern. If your cabinets will hold dishes and glasses, a decorative motif makes sense. For pantries, bolder shapes and lines define the space better.
Scale also matters. A repetitive allover pattern is best for a bank of smaller drawers. Larger cabinet doors can handle an oversized medallion or damask print.
Look for stencils made from durable plastic that will hold their shape. Reusable stencils are a smart investment for future projects.
Design Inspiration
If you need some nudge of design inspiration, consider these popular options:
- Classic symmetry with geometric shapes
- Freehand vines and flowers for a cottage look
- Rich Victorian damasks in dramatic colors
- Intricate Moroccan tiles or mosaics
- Faux raised panels for polished built-ins
- Retro pops of chartreuse, rose gold or teal
Preparing Cabinets for a Flawless Stenciled Finish
Taking time to properly prep your cabinets will ensure the best results. Thoroughly clean each surface with mild soap and water to remove any grease or grime. Allow cabinets to fully dry.
For the paint to adhere smoothly, lightly sand surfaces in the direction of the wood grain. Tack cloth removes any leftover dust. Use painter's tape to mask off areas like cabinet interiors and hardware.
Applying a primer coat evens out the porosity between bare and previously painted spots. Opt for a high bond primer designed specifically for kitchen cabinets.
Avoid Common Pitfalls
With meticulous prep, you can steer clear of some typical troubles:
- Failing to degrease results in peeling or chipped paint
- Skipping primer leads to bleed-through and uneven tinting
- Not taping off hinges or pulls leaves them caked with paint
Applying Stencils for a Professional Look
Once your design is selected and cabinets prepped, it's time to stencil. Use a small foam brush to apply a thin, even layer of stencil adhesive to the back. Carefully position the stencil and smooth it into place.
Load your stencil brush with a little paint and dab off excess on a paper towel before brushing it across the stencil. Apply paint in thin layers, building opacity slowly. Meticulous paint application prevents bleed under the stencil.
Let each layer dry before adding another. When finished, gently pull the stencil straight up from the surface. Reposition and continue the pattern across additional doors and drawers.
Take care when aligning the stencil for your next section. Overlap edges slightly to maintain the pattern. Work methodically for the most seamless results.
Beyond basic stenciling, explore fun painting techniques to make your kitchen unique:
- Dry brushing with a stiff bristle brush adds subtle texture
- Sponging on glaze results in an antiqued or distressed finish
- Metallic paints lend a glam touch and amplify stencil designs
- Gel stain enhances wood grain and offers sheer color washes
Once painted, keep your stenciled
With some creativity and elbow grease, stenciling can transform your kitchen cabinets. In a weekend, you can craft a personalized, high-end look and finally have the kitchen of your dreams!