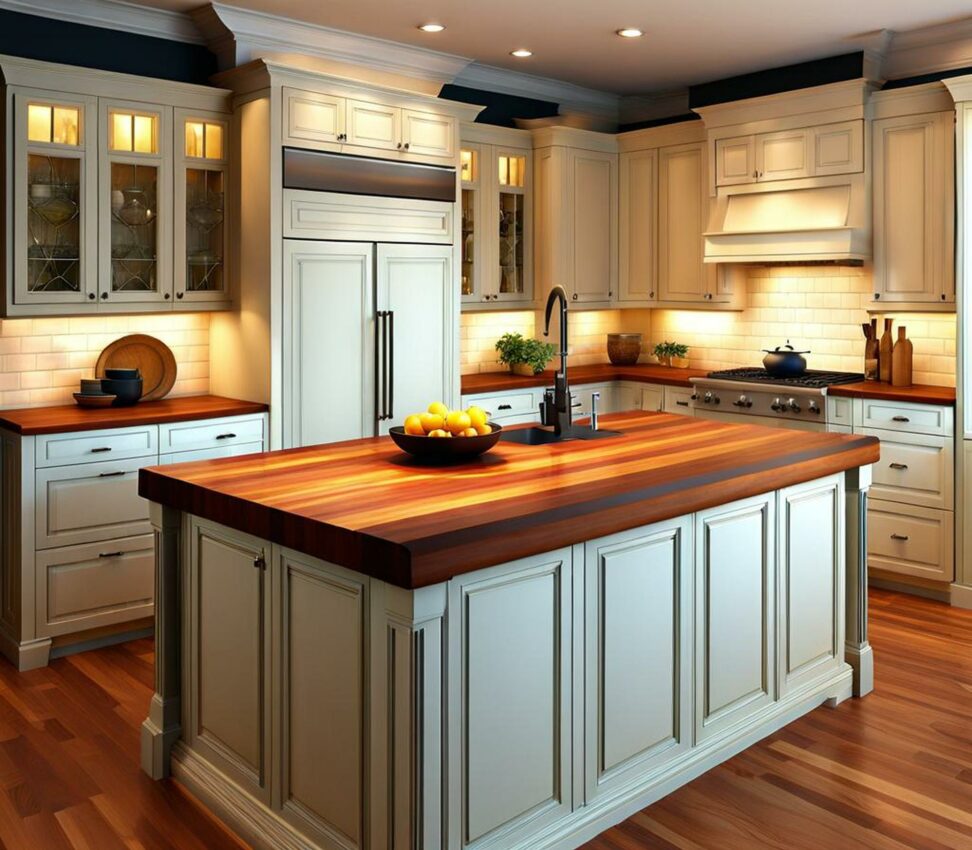
Give Kitchens Premium Butcher Block Countertops
Butcher block countertops have become increasingly popular in home kitchens for their natural beauty and durability. Achieving a premium butcher block look is easier than you may think. With the right techniques for finishing, even novice DIYers can give their kitchens a high-end, rustic style.
Let's transform your kitchen with these warm, welcoming surfaces that feel straight out of an upscale restaurant.
Types of Butcher Block Countertops
Before delving into finishes, let's review the main types of butcher block countertop materials:

- Hard maple: Classic option prized for durability
- Walnut: Richer color; stains well
- Cherry: Ages to a warmer red tone
These species are available in a range of thicknesses and widths. Edges can be left square, eased, or rounded over. As we'll discuss next, proper sanding and finishing are key for any butcher block kitchen countertop installation.
Prep Steps Before Finishing Butcher Block
Prepping the surface is an essential first step to achieve an ultra-smooth finish. Here is an overview of key prep tasks:
Sanding for a Smooth Base
Sanding removes scratches and imperfections from the raw wood surface. Start with 80-100 grit paper to flatten the surface. Then use 120-150 grit to refine it even further before finishing.
Filling Cracks and Gaps
Mixing sanding dust from your counters with wood glue makes an ideal filler for cracks and splits. Force the putty into gaps with a putty knife, allow to dry fully, then sand smooth.
Rounding Over Corners
Sharp 90-degree corners can easily chip and splinter. For a refined look, route edges with a roundover bit so corners have a smooth, rounded profile.
Applying Butcher Block Oil Finish
Butcher block oil is the best finish for surfaces used for food prep. It penetrates deep into the wood grain to protect the surface. Common food-safe oil options include:
- Mineral oil
- Walnut oil
- Coconut oil
- Beeswax finishes
Building up layers of thin oil coats allows the finish to cure correctly within the wood. Wait at least 24 hours between coats. Most surfaces require 6 or more layers initially. Then maintain the finish by re-oiling as needed.
Using Wood Stain and Polyurethane
If you won't use the butcher block for cutting or chopping, consider an alternative finish like stain and polyurethane. This allows more customization of the counter color.
Preparing the Surface for Stain
For even stain absorption, first treat the sanded surface with a wood conditioner. This seals soft grain areas so the entire surface accepts the stain smoothly and uniformly.
Customizing with Wood Stains
Wood stains enrich the natural tones of the butcher block.Experiment with different shades to complement your cabinetry and kitchen decor. Common color options include:
- Natural tints to simply enhance wood grain
- Medium brown for a traditional look
- Dark walnut brings out richness
- Gray tones for contemporary style
Sealing with Polyurethane
Once the stain dries fully, apply 2-3 coats of polyurethane for maximum protection. Water-based options minimize yellowing over time verses traditional oil-based versions.
Caring for and Maintaining Butcher Block
With the right maintenance, your butcher block counters will stay looking ultra-premium for years. Follow these care tips:
- Clean with mild soap and water only
- Re-oil cutting boards every 1-2 months when used heavily
- Address new stains right away
- Consider full sand and refinish every few years
Catching up on oiling and removing stains quickly keeps butcher block counters in restaurant-ready condition with just basic upkeep.
The rich butcher block counters lend high-end style without the price tag. Boost your kitchen ambiance with these warm, natural surfaces made right at home.