Getting Knotty! A Quick Guide to Painting Pine Walls Like a Pro
Tired of staring at those dated, rustic knotty pine walls? With some simple prep work and the right painting techniques, you can give them a fresh, modern update. Transforming knotty pine is easier than you may think when you follow this beginner's guide to painting pine walls pro tips and all.
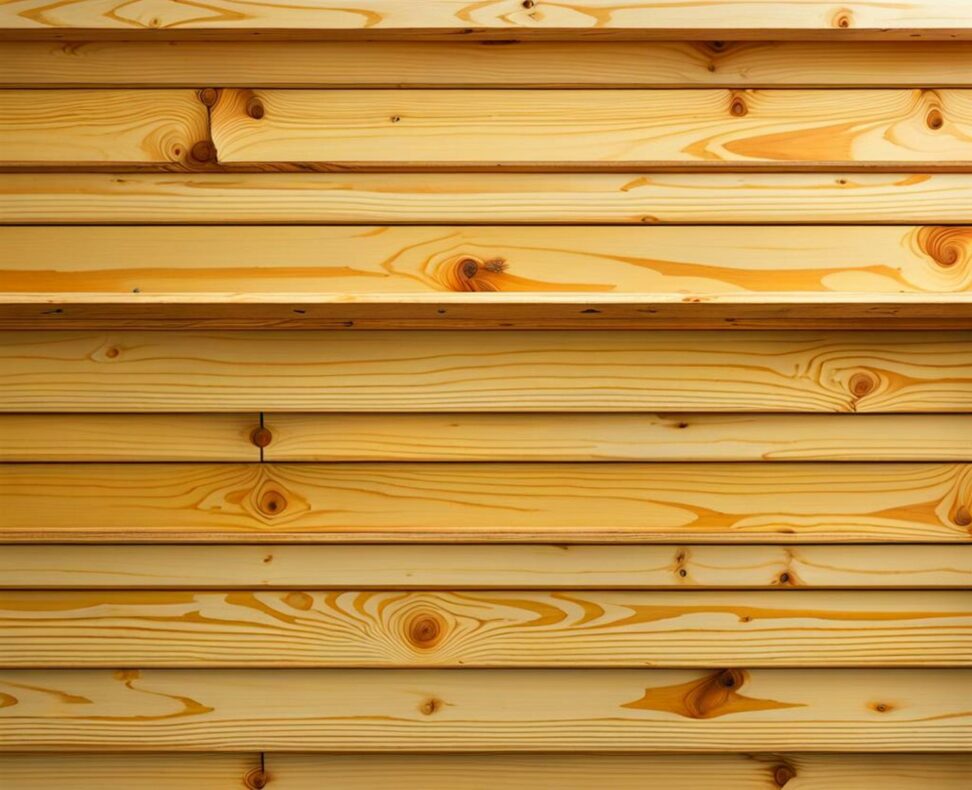
Painting over pine paneling can completely change the look and feel of a room. The golden tones will make way for any color palette you desire, instantly lightening up the space. The planks will blend together for a cleaner, less busy appearance. It's an affordable way to switch up the style without undertaking a full remodel.
Start With Proper Prep Work
Before painting, it's crucial to properly prep your knotty pine walls so the paint has a smooth surface to adhere to. Give the walls a thorough cleaning with an all-purpose cleaner and warm water to remove any dust or grime. Fill any cracks or holes with wood filler, allowing it to dry completely before sanding the area smooth.
For the best results, lightly sand the entire wall using 120-150 grit sandpaper. This helps rough up the existing finish so paint can grasp on. Focus on hand-sanding the grooves and use a power sander on the flat plains. Finish up by vacuuming the walls to remove sander dust.
Choose the Right Primer and Paint
Priming is a necessary step before painting pine. An oil-based primer or pigmented shellac primer will seal knots and prevent bleed-through. Opt for a high-quality interior paint in a satin, eggshell, or matte finish--high-gloss amplifies knots. Neutral hues help hide grain. Using a paint sprayer allows for smoother coverage across the distinct planks.
Apply two full coats of primer, allowing proper dry time between coats. Then finish with two to three coats of paint for best coverage and durability. Take your time with each coat for maximum quality results.
Painting Techniques for Pine Walls
Approach painting your knotty pine carefully, just like you would with trimwork. Start by cutting in edges and corners using an angled sash brush with trimmed bristles. Maintain a wet edge as you roll paint onto the planks using even W- or V-shaped strokes.
Rough areas around knots will absorb more paint. Apply generously and go back to ensure complete coverage. Having proper lighting is key to catch any missed spots. Allow each coat to fully cure before adding the next.
Don't Forget the Trim
The distinctive trimwork around windows, doors, and corners can make pine walls feel dark and enclosed. Painting the trim the same color as the walls creates a streamlined, built-in look.
Prep trim as you did the walls, caulking gaps and sanding as needed. Use painter's tape for sharp edges between walls and trim. Cut in the trim first before rolling walls for a pro touch. Corners also require careful cutting in.
Taking your time is essential for an even, professional paint job on knotty pine. Allowing proper dry time between sanding and coat applications is key. Check walls closely in natural light to catch any missed spots or drips for smooth touch-ups.
While painting over knotty pine requires careful prep and patience, the results are well worth it. You can easily take dark, rustic wood from dated to modern with a fresh coat of colored paint. Just be sure to follow these tips for sealing knots, proper techniques, and a flawless finish.
In a few weekends, you can unlock your pine walls' potential for a brighter, cleaner-lined look. No need to install new drywall or paneling--a simple paint job does the trick. With these helpful pointers to painting pine walls like a pro, you can "knot" go wrong!