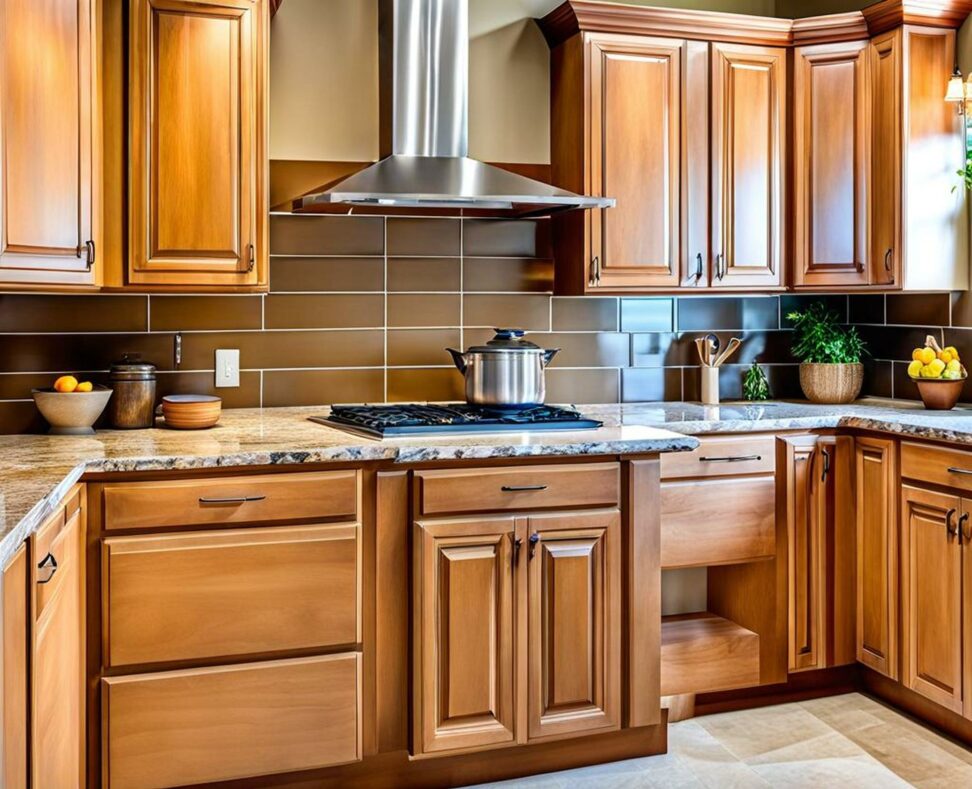
DIY Kitchen Cabinet Refinishing without Stripping or Replacing
Tired of your outdated kitchen cabinets but don't want to go through the expense of replacing them? Refinishing your existing cabinets is a budget-friendly way to give your kitchen a fresh, updated look without taking on a huge project.
With some cleaning solutions, sandpaper, primer, paint and new hardware, you can transform the look of your cabinets without having to strip them down to bare wood or purchase brand new cabinetry. The process does take some time and elbow grease, but the end results are well worth it.
Assess Cabinets to Determine if Refinishing is Possible
Before deciding on refinishing, examine your cabinets closely to see if they are suitable candidates for DIY refinishing. Look for excessive damage like rot, mold or structural issues which would require cabinet replacement. Also take note of current finish condition. If finish is cracked or peeling everywhere, total stripping may be needed instead.
If cabinets are structurally sound with only minor to moderate finish wear, refinishing will refresh their look. Cosmetic issues like light scuffs, discoloration and worn finish can be addressed through refinishing.

Clean Surfaces Thoroughly
Once you've determined refinishing is viable, empty out cabinets and thoroughly clean all surfaces. Mix a solution of 1/3 cup trisodium phosphate (TSP) per gallon of warm water. Dip clean rags into the solution to remove built-up grime and residue. TSP helps cut through grease and oils.
For areas with heavy buildup, use a deglossing solvent like mineral spirits applied with extra fine steel wool. Remove any debris and let cabinets dry fully before moving onto next steps.
Sand Cabinets to Roughen Surface
Lightly sand cabinet frames, doors and drawers using 150-220 grit sandpaper. This scuffs the surface to help new paint or stain better adhere. Be sure to sand in direction of wood grain.
Alternatively, wipe cabinets down with liquid sandpaper or deglosser instead of regular sandpaper to etch surfaces. Vacuum up any dust.
Prime Cabinets for Optimal Paint Adhesion
Priming prepares the surface for accepting new paint by sealing the wood grain and existing finish. For best results, use an oil-based primer specifically made for painting cabinets.
Oil-based primers are superior to latex for blocking stains, tannins and oils from bleeding into paint topcoats. Apply primer with a brushed or spraying evenly across all cabinet components.
Let primer dry fully before sanding lightly with 220 grit sandpaper to smooth. Then apply your topcoat paint within 24 hours so primer stays fresh.
Paint Cabinets with High Quality Cabinet Paint
When selecting cabinet paint, choose a top-grade product designed specifically for the high traffic and moisture of kitchens. Opt for durable alkyd or acrylic latex paints.
Work in sections, painting cabinet box backs first, then sides, fronts and finally doors/drawers. Use angled trim brushes for detail areas. Applying with a paint sprayer yields most seamless results. Expect to do multiple coats to achieve full, even coverage.
Let paint cure fully, typically for 7 days, before reinstalling doors and drawers to prevent sticking. The wait is worth it for long-lasting finish.
Stain Cabinets for a Natural Wood Look
For a transparent finish that highlights the wood grain, staining cabinets is an option. Gel stains offer thicker consistency than liquid stains and resist drips.
Use foam or cloth to apply stain in direction of wood grain. Let stain sit for 5-15 minutes before wiping off excess with a clean cloth. Multiple coats build up color intensity.
Once stain is dry, apply 2-3 coats of water-based polyurethane with light sanding between coats. Polyurethane protects the stain and adds shine.
Consider Special Effects Finishes
Look into specialty finishes to spice up cabinets' appearance. Glazing involves applying a translucent colored glaze over painted cabinets to accent recesses. You can then wipe it back for an antique worn effect.
Or experiment with two-toned paint techniques, using darker paints on recessed sections. The options are plentiful for personalizing your kitchen's style!
Polishing off your cabinets' facelift with a clear protective topcoat will help safeguard your efforts. Polyurethane is a classic choice for protecting wood surfaces with a durable, water-resistant shield.
Opt for oil-based over water-based polyurethane for the most robust finish. Use a high quality brush or sprayer to apply. Give coated cabinets a week or more to fully cure before reinstalling doors/drawers.