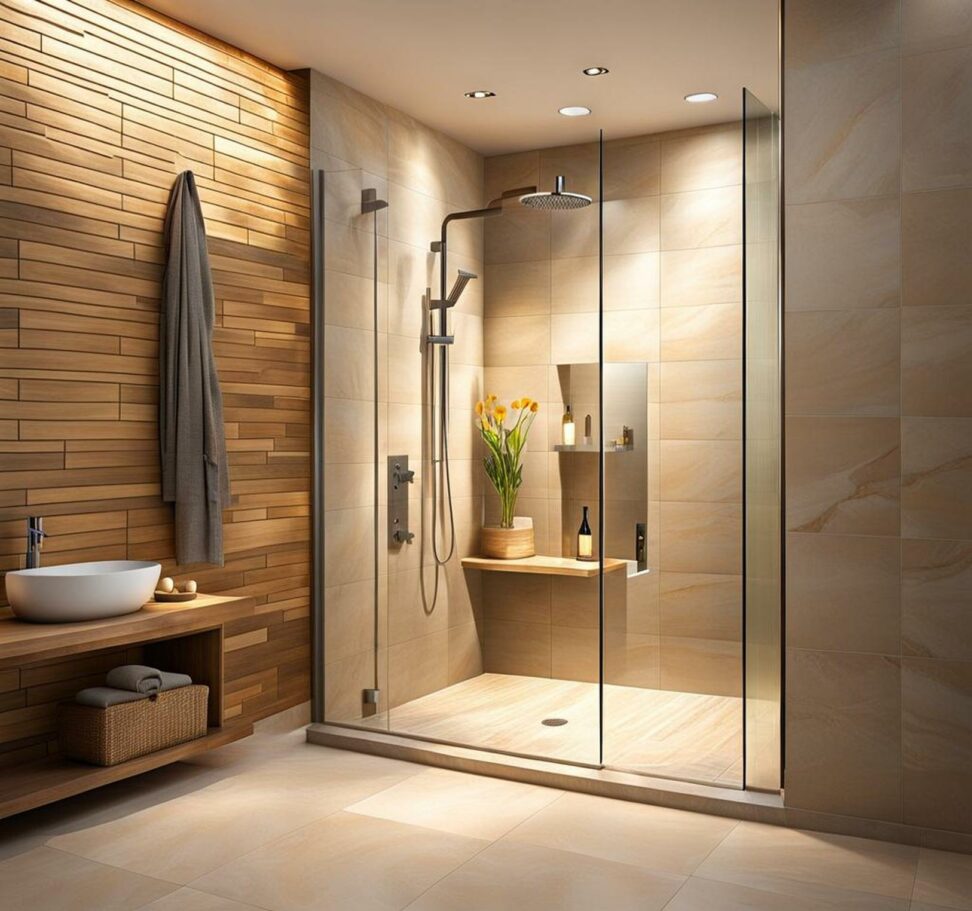
Design Showers with 12x24 Tile Like a Pro
Upgrading your bathroom with a stylish new shower covered in sleek 12x24 tile can instantly give your space a contemporary, spa-like feel. The large format tiles minimize grout lines for a seamless look. But working with oversized 12x24 tiles comes with its own set of considerations. We'll walk you through the planning, prepping, installation, and finishing steps to design showers with 12x24 tile like a pro.
From choosing your materials to picking the perfect tile layout, careful planning is key for a shower you'll love. Let's explore what goes into designing your dream space before the first tile goes up.
Planning Your Shower Layout
Choosing Your Tile
12x24 tiles come in a range of materials like porcelain, ceramic, natural stone marble, and more. Pick a durable porcelain or ceramic tile for the shower walls and floor. They resist moisture well. Consider a polished, glossy finish for an ultra-sleek look or subtle texture for added visual interest. Then have fun selecting a color palette and optional accent tiles or mosaics.

Tile Sizes and Layout Patterns
One option is to use 12x24 tile throughout the entire shower for a seamless, contemporary style. Or vary it up by mixing in smaller tile sizes, like mosaics for a niche or strip of glass tile for an accent. When laying 12x24 tiles, stacked or offset patterns are clean and modern. A herringbone pattern adds visual drama but requires more cutting. Decide where you want to position tile accents like shelves, niches, or decorative strips.
Waterproofing and Moisture Barriers
Before any tile goes up, waterproofing is an essential step. Waterproof membranes like RedGard or Schluter Kerdi create a moisture barrier to prevent leaks behind walls and tiles. Allow proper cure time for the waterproofing before moving on to tiling. This crucial prep step saves on headaches down the road.
Preparing the Shower for Tiling
Layout and Tile Calculations
Once you have your materials, it's time to map out the tile layout. Carefully measure the shower space including the walls and floor to calculate how many full tiles are needed. Don't forget to account for partial edge tiles and cuts. Mark reference lines on the walls and floor so your tile layout stays straight and even.
Cutting and Fitting the First Row
Oversized tiles make starting the first row tricky. Use a tile scribe and snap cutter to custom fit the bottom row of wall tile. Take time to get that first row completely level. This establishes the foundation for the rest of the installation. Ensure the walls are flat, making any adjustments before moving up the wall.
Applying Thinset and Tiling the Walls
Use a polymer modified thinset rated for large format tile. Key is getting full thinset coverage behind each tile. Back-butter each piece before pressing into the adhesive. Build out corners with tile spacers for uniform grout joints. Work methodically up the walls, checking levelness as you go. Allow the thinset to fully cure before grouting.
Tiling the Shower Floor and Ceiling
Tiling the Shower Pan
Pay attention to slope when tiling the shower floor for proper drainage. Large tiles can be tricky on a sloped surface. Choose a grout joint size sufficient for the tile size and space. 1/8 inch joints are common with 12x24 floor tile. Remember, wider grout on the floor makes for easier cleaning.
Should You Tile the Ceiling?
Tiling a shower ceiling is an optional detail but can help prevent mold growth from moisture and steam. It also allows you to extend tile design up for a fully integrated look. Lay ceiling tiles before walls so they overlap slightly. Work carefully on ladders and consider hiring a pro for this challenging ceiling tiling task.
Grouting and Sealing the Tiles
Once thinset has fully cured, mix up grout and apply over the tile joints. Use a rubber grout float and firm, circular motions, pressing into joints. Clean excess grout after it becomes firm. After another full cure, seal all tile and grout with a penetrating sealer for added water protection.
Caulking, Plumbing, and Accessories
Finish up your shower tile installation by siliconizing perimeter edges and seams. Install your showerhead, shelves, and niche accent tiles if desired. With careful prep and design, you can achieve flawless results and a stunning new shower with the sleek, spa-like style of 12x24 tile.
Designing showers with oversized 12x24 tile establishes a modern, polished look with fewer grout lines. Pay close attention to planning and layout before installation for success working with large format tile. Proper thinset coverage and wall preparation are also key. Completed correctly, your new 12x24 tile shower becomes a sleek, spa-inspired space you'll enjoy for years.