Construct the Ultimate Kitchen Island Breakfast Bar
A kitchen island with an attached breakfast bar can transform your cooking space into a multipurpose hub for meal prep, casual dining, homework, and more. With some careful planning and basic DIY skills, you can construct the ultimate kitchen island and breakfast bar customized to your space, style, and needs.
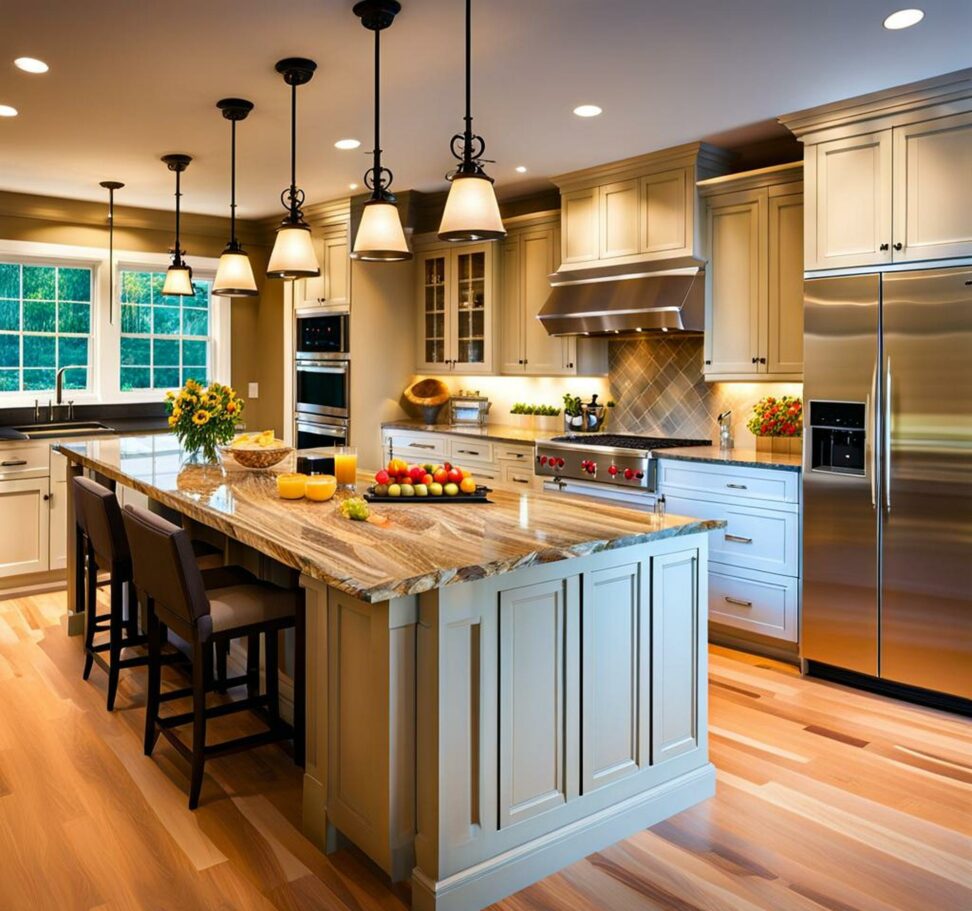
An island with a breakfast bar adds valuable counter space and seating to a kitchen. This project does require accuracy in design and execution, but the end result will be an incredible focal point and highly functional asset for any home cook or entertainer.
Developing Your Custom Island and Breakfast Bar Design
The first step in creating your dream kitchen island is deciding how you want to use it. Consider the size of your space and where the island will provide the most benefit in relation to the existing layout. Determine if you'll use the breakfast bar strictly for quick meals or as additional seating for gatherings. These factors will inform the ideal size and location within your kitchen.
Once you've settled on the footprint, start exploring options for cabinetry, countertops, storage solutions, and barstools. Stock cabinetry is the most affordable option, while custom building allows for total personalization. For the countertop, materials like granite and quartz make durable and stylish choices that can handle heavy usage.
Incorporate interior shelves, drawers, and other storage options to maximize the functionality. Under-counter racks for hanging utensils or pots and pans add convenience right where you need it. For the barstools, opt for adjustable height seating that tucks neatly under the counter when not in use.
Measuring Your Space
Carefully measuring the entire kitchen area is crucial for proper island proportions. Account for traffic zones, doorway clearance, and appliance access. Mark stud locations on the walls and floor to facilitate electrical and plumbing plans. Record all measurements to craft your island and breakfast bar framework.
Constructing the Structural Base
Build a sturdy frame from 2x4 studs secured directly into the wall framing. Include crossbeams for enhanced structural integrity. Water-resistant drywall will stand up to splashes and spills while keeping the inner construction hidden. With ample legroom and overhang support, your DIY island will be ready for finishing.
Adding Custom Cabinetry
Prefabricated or custom-built cabinetry forms the base of your kitchen island. Measure carefully to ensure adequate clearance from surrounding ceilings, walls, and appliances during installation. Sturdy base cabinets with adjustable shelves and drawers maximize storage possibilities within the island.
Installing the Countertops
Cut your chosen countertop slightly larger than the cabinetry base. Secure it firmly with brackets. For bar seating, include a 2-3 inch overhang. This accommodates comfortable legroom and leverage for diners. Take care to make inside corners rounded for safety and easy cleaning.
Finishing Touches for Your DIY Kitchen Island
With the structural framework and countertops in place, it's time to complete your kitchen island with personality. Opt for pendant lighting to illuminate meal prep and socializing. Contrasting hardware and accents show off your unique style.
Choosing Comfortable Barstools
Look for barstools with seat heights conducive to eating or chatting casually over the counter. Adjustable height and swivel range allows for custom positioning. Anchor stools securely to the island frame for stability. Arrange them comfortably within the overhang space.
Now the fun part - add your individual touches! Incorporate your favorite art, drapery, greenery, and accessories to reflect your taste. Keep frequently used cooking gadgets and ornate servingware on display. When not in use, tuck away barstools to keep the space clear.
The kitchen island and breakfast bar are perfect for quick snacks and special dinners. Show off your successful DIY project that uniquely fits your cooking and entertaining needs!