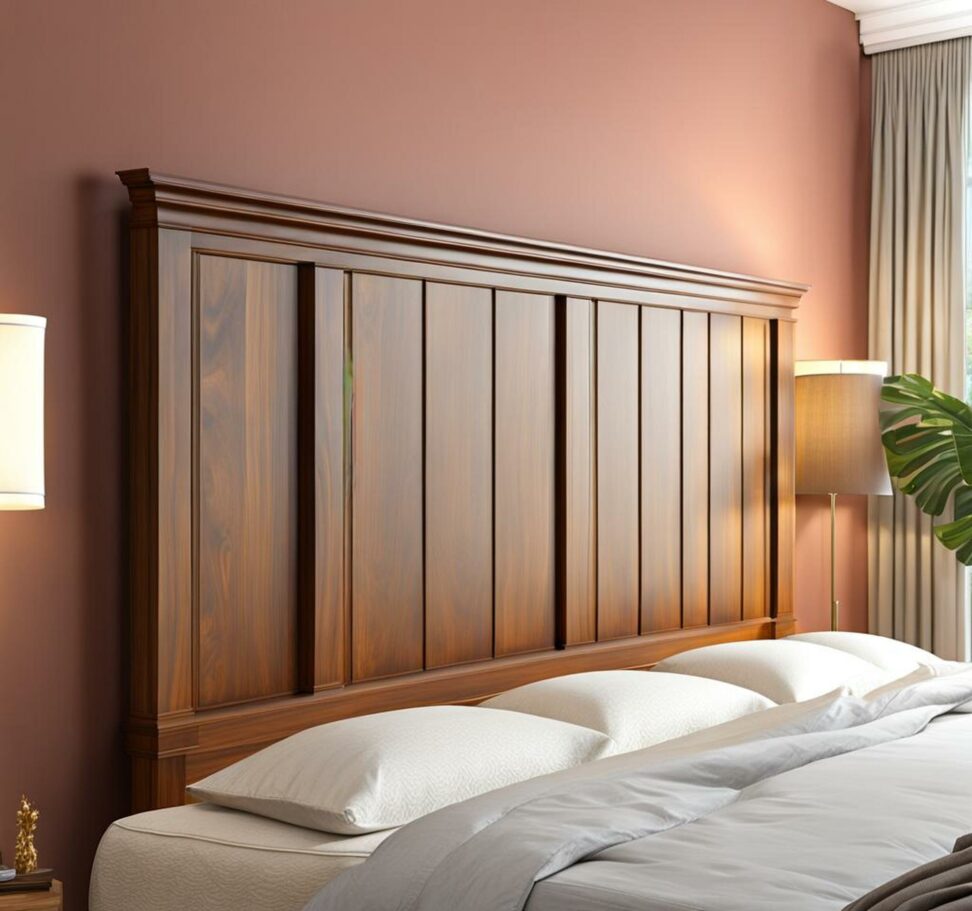
Construct a King-Size Headboard From Scratch With Our Guide
A beautiful, handcrafted king size headboard can transform the look and feel of any bedroom. But buying a ready-made king headboard can cost a small fortune. Why spend so much when you can build your own king headboard for a fraction of the price?
In this comprehensive DIY tutorial, we provide detailed guidance on designing and constructing a majestic, king-sized headboard from scratch. With our step-by-step instructions, you'll unlock the secret to crafting an easy yet statement-making focal point for your master suite.

Planning Your Custom Headboard Design
The first step is deciding on the perfect headboard design for your needs and personal taste. Consider the following factors:
- Measurements - Size it to properly fit a king-sized mattress and bed frame.
- Shape - Rectangular, arched, angled, or tufted.
- Decorative elements - Shelves, lighting, cutouts or patterns.
- Style - Modern, farmhouse, industrial.
- Wood type and stain - Match existing furniture.
Sketch your ideas before finalizing plans. Carefully measure the bedroom space to ensure your custom king headboard will fit the walls and look proportional.
Design Ideas for a Stunning King Headboard
Looking for inspiration? Here are some dazzling design ideas to elevate your king-sized headboard:
- Affix decorative buttons to create an elegant tufted headboard.
- Use a staple gun to make a plush padded headboard for added comfort.
- Incorporate reclaimed wood planks for a rustic, farmhouse feel.
- Build in floating shelves or cubby storage for books and bedside essentials.
- Add ambient lighting using discreet LED strip lights.
- Use wallpaper or fabric to cover the headboard panels.
- Cut geometric or nature-inspired shapes using a jigsaw.
Step-by-Step Instructions
Once you've settled on the perfect design, it's time to start building. Follow these DIY steps to construct a spectacular king headboard from scratch:
1. Cut the Headboard Frame
The base frame provides structure and support. Here's how to build it:
- Cut four 2x4 boards for the legs using a power miter or circular saw. Create angles if desired.
- Join the leg boards together with horizontal 2x4 crossbeams cut to the planned width. Use corner notches or basic butt joints secured with wood screws.
- Use a builder's square to ensure the corners form 90 degree angles.
- Sand edges smooth with 100 grit sandpaper.
2. Attach the Headboard Panels
Now add the decorative front panels:
- Measure the frame and cut 1x6 inch boards to size using a power miter or circular saw.
- Space boards evenly to allow airflow and prevent warping. A 1/4 inch gap is ideal.
- Center panels on the frame backing and attach using 2-3 inch wood screws, drilling pilot holes first.
3. Add Decorative Wood Trims
Embellish the basic frame and panels with ornamental trim pieces:
- Measure and cut 2x2 or 2x4 boards for decorative side, top, and bottom trim.
- Attach trim pieces using wood glue and finish nails or small gauge brad nails.
- Fill nail holes with wood filler, let dry completely, then sand smooth.
4. Sand and Finish the DIY King Headboard
Apply protective finish for durability and beauty:
- Sand entire headboard using 100, 150 and finally 220 grit sandpaper for an ultra-smooth surface.
- Carefully wipe away all dust with a dry tack cloth.
- Apply your choice of paint, stain, or clear wood finish. Allow thorough drying between coats.
- Finish with three coats of water-based polyurethane for best protection.
5. Mount Cleats and Hang on Wall
Final installation is easy with French cleats:
- Mount wall cleats securely to studs, positioned exactly where you want the headboard centered.
- Attach matching French cleats to the back of the headboard using spare 2x4 boards reinforcement.
- Lift the headboard into place so the cleats interlock. The angled cleats support the substantial weight.
Customization Options
The beauty of building it yourself is that you can let your creativity shine! Personalize your handcrafted headboard with these unique touches:
| Customization | Instructions |
| Tufted headboard | Use a hole punch to mark evenly spaced holes rows. Push buttons into holes. |
| Padded headboard | Staple thick batting to panels. Wrap in fabric and staple to rear. |
| Rustic wood headboard | Use varying widths of reclaimed wood planks. Add wooden knobs. |
| Modern geometric headboard | Cut patterns into wood panels using a jigsaw. Paint bold colors. |
| DIY Upholstered headboard | Staple decorator fabric to rear of plywood panels. Use trim to hide staples. |
Let your imagination run wild! The right king headboard can make a tasteful statement and become the star of your master bedroom.
As you can see, designing and building your own king-sized headboard is an achievable DIY project using our detailed guide. With a materials budget under $150, you can create a high-end designer-quality piece customized to your personal taste.
The sense of accomplishment when installing a handcrafted headboard that took time, care and effort to construct cannot be understated. Let our step-by-step instructions unlock your inner carpenter!soon you'll be lounging in bed admiring your brand new, jaw-dropping statement piece.