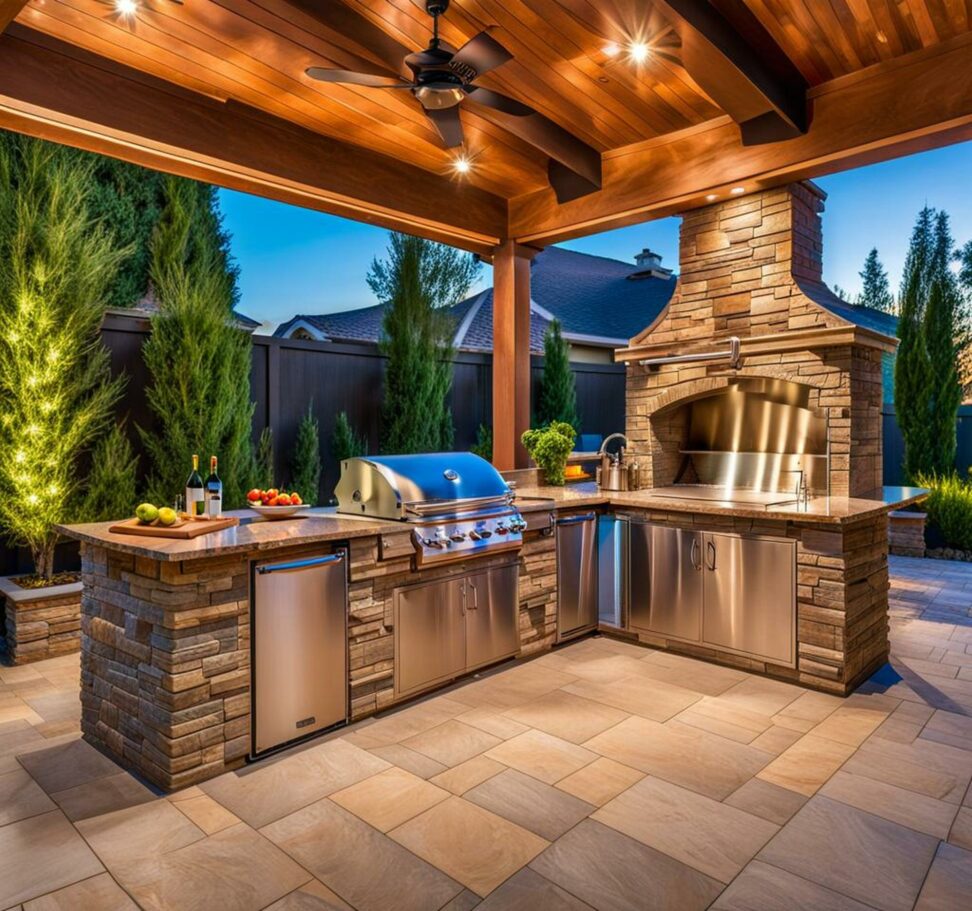
Build Your Dream Outdoor Kitchen—A Complete DIY Guide
Imagine stepping outside your home into a fully-equipped outdoor kitchen and dining space. Now picture yourself hosting effortless alfresco dinner parties or casually grilling on lazy summer weekends. Creating your own DIY outdoor kitchen makes this a reality.
Constructing an outdoor cooking and entertaining area allows you to take advantage of good weather and extend your living space. Although the process requires time and labor, you can customize the design to perfectly suit your needs. Building it yourself also offers cost savings versus buying a prefabricated option. If you're willing to roll up your sleeves, you can build the outdoor kitchen of your dreams.

Choosing the Optimal Location
Selecting the right spot on your property is the first critical decision when planning your DIY outdoor kitchen. Consider how you intend to use the space. It should connect easily to indoor living areas for convenient access.
Proximity to the house is key to simplify tying into utilities like water and electricity. Avoid excessive sun exposure by positioning it under trees or a shade structure. Also think about privacy--do you want seclusion or visibility from the street or neighbors?
Creating a Functional, Durable Design
Carefully think through the layout and flow of your outdoor kitchen. Include the essential work zones and appliances your cooking style requires. Typical elements are:
- Grilling station with a built-in or freestanding grill
- Food prep space like countertops and islands
- Sink for washing up
- Durable surfaces for hot items from the grill or oven
- Seating like a bar or stools
- Lighting for evening use
- Storage for small appliances, utensils and accessories
Arrange these features logically to allow smooth movement from the grill to prep space and sink. Incorporate ample room to open grill lids, cabinets, and appliance doors fully. Popular configurations are L-shaped, U-shaped, or islands.
Selecting Rugged, Low-Maintenance Materials
Outdoor kitchens demand weather-resistant materials that offer durability and functionality. Excellent choices include:
- Natural stone like granite, marble, or slate
- Tiles or pavers
- Brick
- Concrete
- Stainless steel
- Engineered wood alternatives that won't rot
Use stone, brick, or tile for counter surfaces. Choose stainless steel or aluminum for structural elements. Woven seating maintains its look despite moisture. Ensure any appliances meet specifications for outdoor use.
Creative Material Combinations
Thoughtfully mixing materials provides visual appeal. A brick base offers an eye-catching foundation. Pair it with granite or marble countertops to create an elegant look. For a more rustic aesthetic, blend stone and reclaimed wood accents. Concrete counters with colorful mosaic tile backsplashes exude modern charm.
Maximizing Storage in Your Outdoor Kitchen
Careful storage solutions keep your outdoor kitchen organized. Build cabinets, drawers, and shelving to hide small appliances when not in use. Floor-to-ceiling pantry cabinets provide ample room. For frequently used items, incorporate racks or hooks on the exterior of cabinetry. Utilize vertical space above the counter with shelving.
Lighting Sets the Mood
Proper lighting transforms an outdoor kitchen from day to night. Incorporate task lighting above food prep areas to illuminate cutting boards and sinks. For ambience, hang pendant lights over bars and tables. String lights add a whimsical glow. Hardwired fixtures provide permanent illumination, while solar or battery-operated lights allow flexibility.
Additional Design Elements for Comfort and Convenience
Personalize your outdoor cooking space by including upgrades that match your cooking and entertaining preferences.
- Add a built-in or freestanding sink.
- Install a ceiling fan or misting system for hot days.
- Incorporate a sound system, television, or fireplace.
- Include a beverage center with refrigerators, wine coolers, or kegerators.
Executing the Installation
With careful planning and the right materials, constructing your DIY outdoor kitchen is very achievable. Begin by prepping the site and pouring a concrete slab foundation. Build a sturdy frame from weather-resistant lumber or steel. Run electricity and plumbing from the house to the kitchen area.
Next, add flooring, cabinetry, countertops and finish work like paint and trim. Allow time for materials like concrete, stucco or grout to fully cure before use. Complete the look with decorative pendant lights, bar stools, or other accents.
Creating your own outdoor kitchen allows you to customize every design detail while saving on cost. With strategic planning and diligent construction, you can craft your ideal alfresco cooking and entertaining oasis. Spend countless hours enjoying backyard barbeques, holiday celebrations and relaxed meals in your new favorite space.