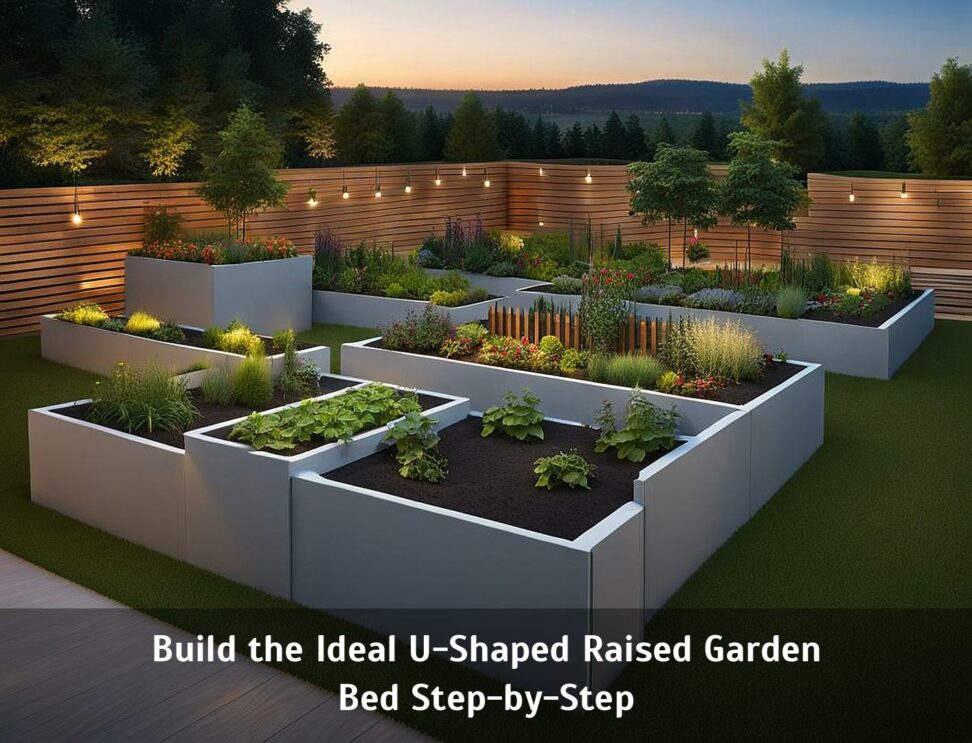
Build the Ideal U-Shaped Raised Garden Bed Step-by-Step
For gardeners seeking an accessible and bountiful growing space, a U-shaped raised bed offers the perfect solution. This unique three-sided design surrounds an open side, enabling easy access from all angles, including convenient wheelchair access. U-shaped raised garden beds deliver versatility, allowing you to plant a lush variety of flowers, vegetables, herbs, and more. We'll guide you through constructing the ideal bed tailored to your space with our simple, step-by-step instructions.
Get ready to assemble durable, long-lasting beds to unlock a thriving, sustainable garden oasis right outside your door.
Gather Essential Materials for Building Your Custom Bed
The foundation of a hardy U-shaped raised bed begins with quality material selection. Rot-resistant woods like cedar and redwood are preferred for their strength, natural weather resistance, and non-toxic properties. For fastening, use galvanized or stainless steel screws over nails to prevent future rusting.

Here's what you'll need on hand:
- Rot-resistant wood boards (cedar or redwood)
- Landscape fabric to line bottom
- Galvanized screws and drivers
- Power tools for cutting
- High-quality gardening soil
- Compost and fertilizers
Additionally, gather any specialty supplies if integrating bonus features like automatic irrigation, lighting, or built-in trellises. Now the fun construction begins!
Plan Bed Dimensions to Make the Most of Your Space
When dreaming up the perfect custom bed, individualize the dimensions to seamlessly fit your patio, garden or yard. Account for convenient gardener access on all sides with at least 3 feet of clearance. Ideal dimensions for a U-shaped raised bed are around 8 feet by 9 feet, with three straight sides forming a squared-off "U" shape.
Accessorize Your Design
Make your raised bed your own with handy accessories:
- Attach a built-in trellis for climbing plants
- Build wraparound bench seating to enjoy the garden view
- Add solar-powered path lighting for nighttime plant care or hosting
Elevate for Easier Access
To enjoy gardening comfortably while standing or sitting, build your U-bed 20-24 inches tall. This reduces back strain from continual bending. For wheelchair gardeners, build 28-32 inches high for comfortable arm-level access.
Construct a Sturdy Frame
With your materials ready and dimensions decided, it's time for assembly. Cut boards to the appropriate lengths with a power saw. Connect the ends together first, securely screwing corners together at 90 degree angles before attaching front and back boards to form your "U" shape.
Brace every 4 feet with sturdy support boards screwed securely across front and back. Check corners with a leveler. To fortify the structure, drive screws every 16 inches along seam lines. Sturdy construction now complete!
Add Soil, Compost and Plants for Your Outdoor Oasis
Line the bottom with landscape fabric before filling your raised bed with rich soil. For thriving plants, use a high-quality bagged garden soil and mix in compost for enhanced nutrition and drainage. Mound soil 8-12 inches deep for ample root space.
Sow seeds or plant seedlings for bountiful flowers and food. Try compact vegetables like spinach, kale, or bush beans that flourish in raised beds. Now nurture your plants with consistent water, nutrition and care for a vibrant, flourishing U-shaped garden!
Your custom-crafted raised bed delivers years of healthy food and beauty while enjoying the sanctuary of the great outdoors. Tend blossoming plants while comfortably seated on an integrated bench surrounded by nature's splendor.
A tailored U-shaped design minimizes back strain for greater accessibility. Gain a sense of accomplishment caring for your garden and reconnecting with nature. Delight in sharing the literal fruits of your labor with loved ones.
Let your imagination run wild in creating your ideal raised bed vision and make it a reality with this straightforward do-it-yourself guide. Be empowered to grow food, beauty and community while spending more time outdoors immersed in gardening bliss. The possibilities for your new U-shaped garden sanctuary are endlessly bountiful!