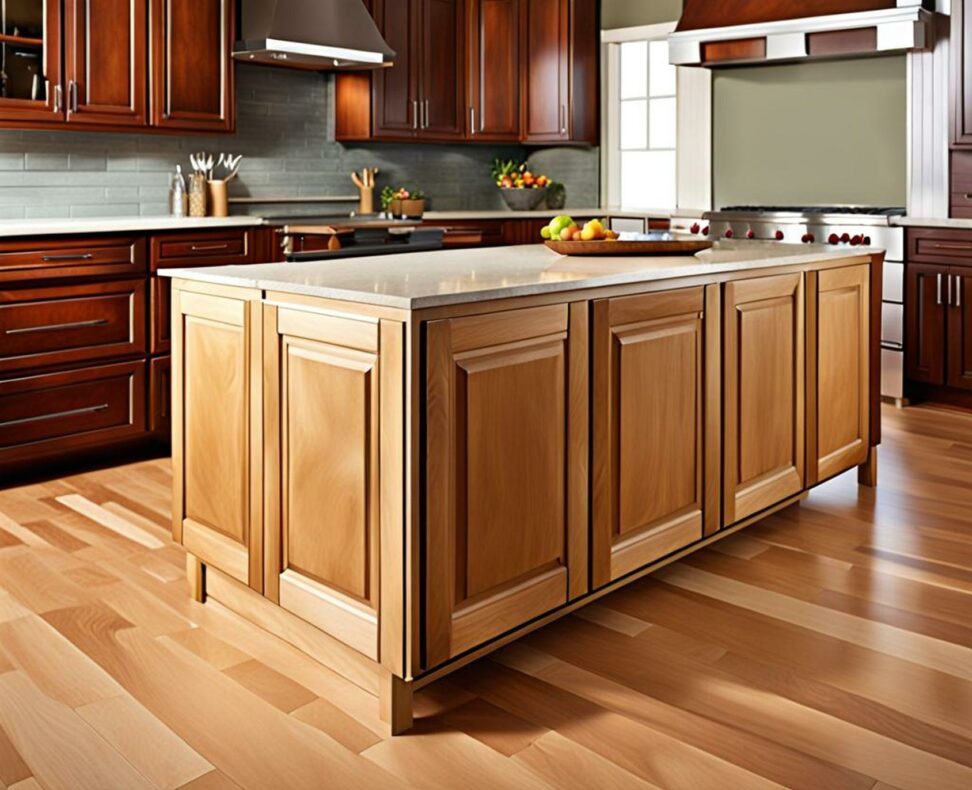
Build Base Cabinets from Scratch with Common Tools
Building your own kitchen cabinets can be an extremely rewarding do-it-yourself project. Not only do you get custom cabinets suited to your space, but you save thousands compared to buying prefabricated cabinets. With some basic woodworking skills and common tools, you can construct sturdy base cabinets from scratch.
You'll learn how to design and size your cabinets, choose durable materials, make precise cuts, join pieces into a box frame, install cabinets level and plumb, add doors and drawers, finish with trim, and customize with shelves and other storage solutions. Let's get started!
Planning Your Base Cabinets
Determine Cabinet Dimensions
The first step is taking measurements and determining the dimensions of your base cabinets. Consider the overall layout and traffic flow in your kitchen. Mark stud locations on the wall and floor to identify how much space you have to work with.

Standard cabinet height is 34 1/2" from floor to top. Base cabinet depth typically ranges from 20-26. Measure existing cabinets if present. Calculate your cut list dimensions using this formula:
- Side panels: cabinet height - 1 1/2" (toe kick) x cabinet depth
- Top and bottom: cabinet width x cabinet depth
- Back panel: cabinet height - 1/2" x cabinet width - 1/2"
Remember to account for the thickness of the plywood sheeting, usually 3/4". Adjust measurements for any filler panels or special sizes needed. Having accurate cut lists ensures proper cabinet fit.
Choose Cabinet Materials
We recommend using cabinet-grade plywood at least 3/4" thick for base cabinet construction. Look for plywood with few surface voids and a smooth sanded face for painting or staining.
For added durability:
- Use moisture-resistant adhesive at joints
- Choose screws rated for wood use
- Apply water-sealant to bottom panel
- Add reinforcing corner braces if needed
Avoid using thinner composite wood panels. Though cheaper, they lack long-term stability and rigidity needed for cabinet bases.
Cutting List and Labels
With your measurements complete, cut plywood sheets to size on a tablesaw or with a circular saw and straightedge guide.
Remember to:
- Crosscut plywood to length
- Rip plywood to width
- Label pieces to match cut list (ex: Bottom Panel A)
- Note grain direction on each piece for strength
Proper labeling prevents mix-ups later. Now you're ready to start constructing the cabinet boxes!
Building the Cabinet Box
Cut Pieces to Size
Set up stop blocks on your miter saw fence to quickly crosscut all side, top, and bottom panels to precise length per your plans. Verify each piece matches the measurements on your cut list.
Next, rip plywood to width on a tablesaw for back panels and any filler pieces. Take your time making clean, straight cuts - quality and accuracy is key.
Join the Cabinet Sides
There are several options for joining the sides, top and bottom of the cabinet box.
Use pocket holes and wood screws for easy assembly. Apply adhesive at joints for added strength. Clamp pieces tightly before driving screws to ensure flush corners.
Or, create simple corner butt joints secured with wood glue and nails. Use bar clamps to hold sides at 90 degree angles while glue dries overnight.
Install the Cabinet Back
Cut the back panel to fit tightly inside the cabinet back opening. Secure by nailing or screwing into the top, bottom and side panels. The back provides rigidity to the cabinet box once installed.
Add the Bottom Panel
Cut bottom panel to fit front-to-back within the side pieces. Glue and nail into place. Bottom panel prevents cabinet from racking and provides a surface for resting shelves.
Build Doors and Drawer Fronts
Cut door and drawer front pieces to size based on cabinet opening dimensions. Use a router and panel bit to cut grooves for installing center panels.
Attach hinges and handles. We recommend concealed European-style hinges and durable brushed nickel hardware.
Installing and Finishing Base Cabinets
With the cabinet boxes constructed, it's time for installation.
Carefully measure and shim cabinets until both plumb and level. Attach to wall studs and/or adjacent cabinets with screws. Consider adding reinforcement brackets for spans over 36".
Scribe and trim cabinets to match any uneven walls. Use filler strips to close gaps.
Attach a separate toe kick board secured to the floor or integrate a toe kick into the cabinet sides.
Finish cabinets with high-quality primer and paint formulated for kitchen use. Or apply gel stain for a wood finish.
Install adjustable shelves at desired heights. Slide in drawers on drawer glides and mount door fronts.
Add under-cabinet lighting for task illumination. Top with your choice of countertop material.
Building base cabinets is easier than it looks with the right techniques. Let us know if you have any other questions! We're happy to offer more tips to make your DIY kitchen cabinet project a success.
Constructing your own base cabinets allows full customization for a fraction of the cost. Follow the steps outlined above to design, size, build, install and finish sturdy cabinets tailored to your kitchen's layout. All it takes are basic tools, quality materials, precision cuts and secure joinery.
We hope these instructions give you the confidence to DIY your next kitchen remodel. Just take it slow and double check your measurements. Before you know it, you'll have hand-built cabinet bases ready for years of service storing pots, pans and other essentials. Let us know how your project turns out!