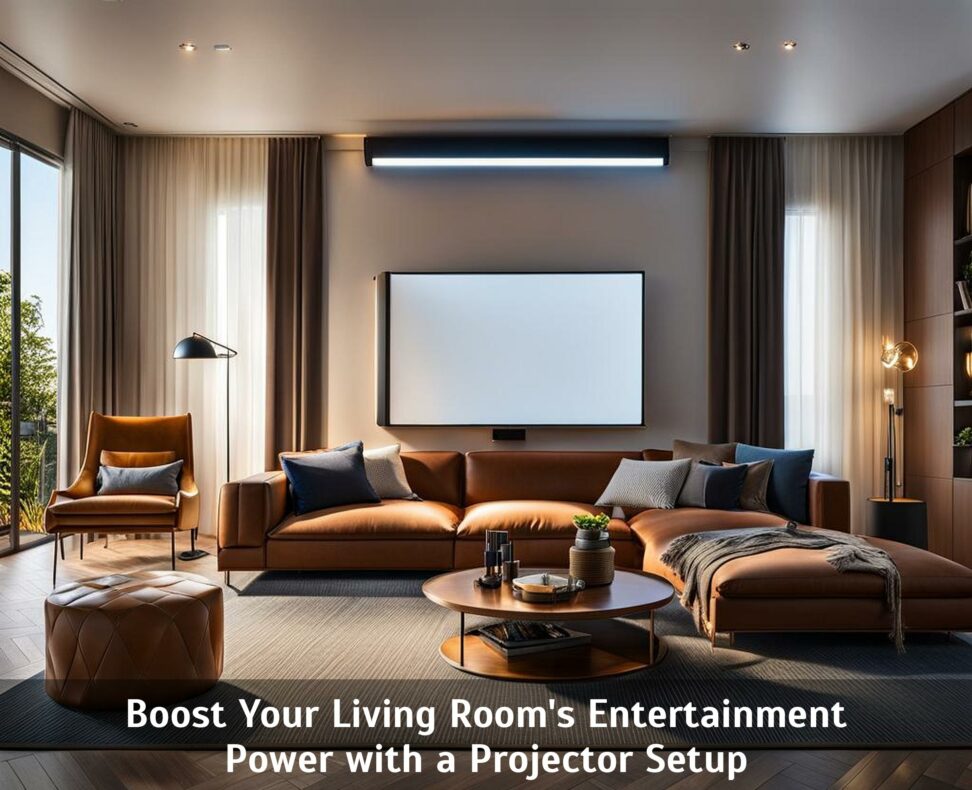
Boost Your Living Room's Entertainment Power with a Projector Setup
Tired of crowding around a tiny TV screen when watching movies or the big game with friends and family? Bring the immersive visuals of a movie theater into your living room with a projector setup that transforms any wall into a cinematic experience.
Projectors have come a long way, with 4K resolution models now more affordable than ever. Paired with a surround sound system and comfy seating, a living room projector setup makes every movie night feel like an exclusive screening.

Why Add a Projector to Your Living Room?
There are many compelling reasons to invest in a living room projector setup:
- Create an epic home theater with a screen size over 100 inches - much larger than any feasible TV.
- More affordable way to get 4K and even 8K ultra high-def projection as prices drop.
- Incredible visibility for sports events, video games, and blockbuster movie marathons with friends.
- Many projector models now include streaming apps and smart connectivity.
- Provides a central focal point bringing family and friends together in one space.
- Flexible placement options compared to mounted TVs.
Whether you're a movie buff looking to recreate the cinema at home or want front row seats to the big game without leaving your couch, adding a projector can transform your living room into an entertainment powerhouse.
Choosing the Right Projector
With many different models on the market, selecting the ideal living room projector involves weighing a few key factors:
Image Quality
A projector's resolution, brightness, and contrast ratio determine the quality of the visuals it can produce. For most living rooms:
- 1080p resolution is the minimum recommended, but 4K models are ideal and increasingly affordable.
- 3000-4000 ANSI lumens deliver brightness sufficient for well-lit rooms.
- A contrast ratio of 15,000:1 or higher ensures rich blacks and vibrant colors.
- Consider lens zoom and shift features to calibrate and optimize the image.
Placement
Calculate the necessary throw distance from the wall based on room size and screen dimensions before selecting a specific projector model and lens. Then factor where and how it will be installed - on the ceiling, shelves, a coffee table, or with a projector screen and stand.
Connectivity
To conveniently access and cast content from streaming sticks, consoles, Blu-Ray players and more, today's projector models feature abundant HDMI inputs and video connectivity options like WiFi screen mirroring.
Preparing Your Living Room
While projectors handle the visuals, optimizing the room itself is crucial for an immersive viewing experience. Key steps here include:
Managing Light
Ambient light will wash out and distort a projected image, so addressing this ahead of time is pivotal. Solutions include:
- Installing blackout curtains over windows.
- Replacing bulbs with smart dimmer switches .
- Strategically placing the projector to avoid light shining directly on the viewing surface.
- Ensuring no light sources are visible from the central seating area.
Choosing a Projection Surface
While plain drywall or a painted wall can work, a blank white projection screen optimizes the image. Consider mounting a fixed frame screen or tensioned motorized screen that can be lowered when needed and out of sight when not in use.
Arranging Seating
Align seating in a central, focused viewing position facing the projection surface for optimal immersion. For movie nights, incorporate tiered rows of seats and recliners allowing guests to kick back just like a real theater!
Connecting Devices to Your Projector
Today's projectors include a range of A/V input connectivity to hook up external media sources like:
HDMI
HDMI cables pass both high-def video and audio signals from devices like:
- Blu-Ray players
- Gaming consoles
- Streaming media sticks
Audio Set Up
In addition to onboard speakers, connect an external audio solution like:
- A soundbar
- Bluetooth speakers
- Full surround sound system
Media Streaming Box
Streaming boxes like Roku, Apple TV and Nvidia Shield open doors to popular apps, easy casting from mobile devices, and screen mirroring.
First-Time Projector Setup
Once all devices are connected, a few final installation steps complete your living room projector setup. These include:
Image Alignment
Precisely adjust the projection angle to produce a centered, rectangular image. Use lens shift, zoom, and keystone correction to fine tune as needed.
Custom Calibration
Cycle through each source input and dial in the optimal settings for focus, color temperature, and motion smoothing for the content being viewed.
Connection Tests
Validate flawless video and audio signal transmission from every connected component before your first movie marathon!
Once up and running, your spacious, theater-inspired living room will become the ultimate place to enjoy entertainment of all kinds. Here are just some ideas:
- Host opening night watch parties for long awaited movies.
- Cheer on your home team with wall-to-wall sports viewing.
- Start an epic video game campaign on the biggest screen in the house.
- Stage an award season marathon or horror fest double feature.
Every night in from now you will feel like a celebrity with the cinematic sights and sounds of a projector setup. Now grab some snacks and start enjoying a world of immersive entertainment from the comfort of your living room!