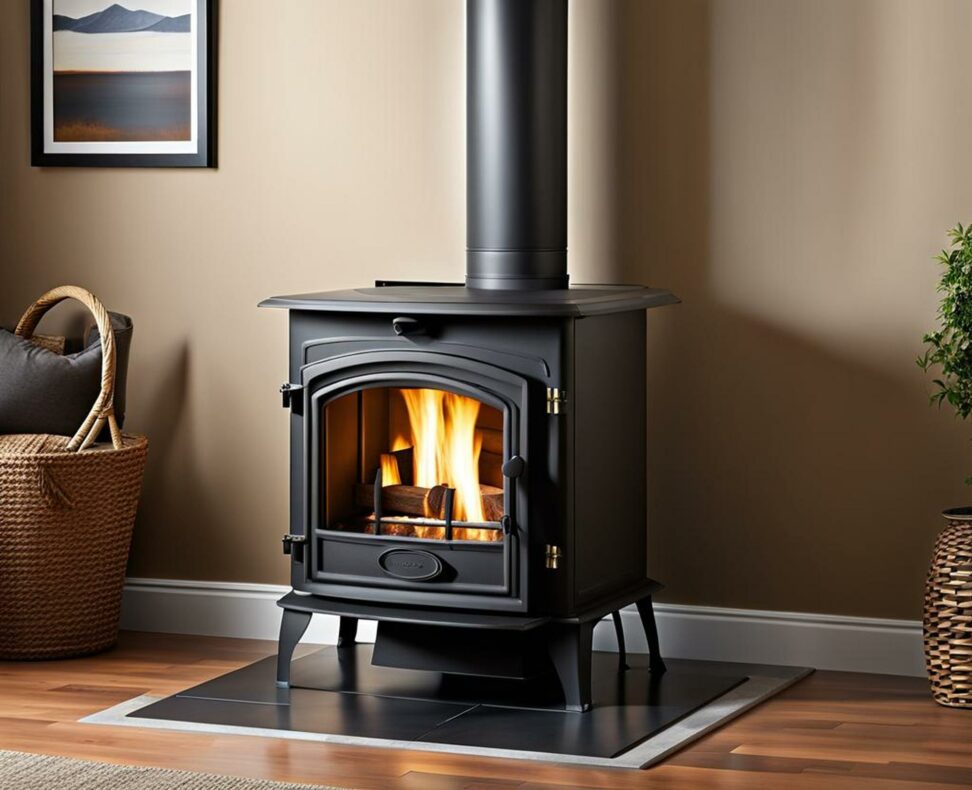
2 Biggest Wood Stove Venting Mistakes to Avoid
Installing a wood-burning stove can be an excellent way to add charming ambiance and cozy warmth to your home. However, ensuring your stove runs efficiently and safely requires proper venting techniques. Unfortunately, many homeowners make simple yet serious venting mistakes that compromise performance and create fire risks.
Mistake #1 - Improper Pipe Slope
One of the biggest pitfalls when installing stove pipe is configuring the slope incorrectly. Failing to achieve the proper upward angle toward the chimney or vent can allow liquid creosote and condensation to accumulate.
Consequences of Incorrect Slope
An improperly sloped stove pipe causes two major problems:
- Reduced draft efficiency - Without adequate slope, the pipe cannot properly draw smoke up and out. This allows combustion byproducts to choke airflow and coat interior surfaces.
- Creosote buildup fire hazard - When moisture and unburnt wood particles collect in horizontal or downward sloping sections, it enables thick creosote deposits. These sticky residues can ignite when exposed to excessive heat.
Correct Slope Requirements
To leverage the natural rising tendency of hot gases, your stove pipe should slope:

- 1/4 - 3/8 inch per foot
- Upward toward the chimney
This slight but consistent incline ensures moisture flows out while smoke maintains velocity upward.
Step-By-Step Guide to Proper Slope
Achieving ideal stove pipe slope is straightforward:
- Measure from the stove collar to the chimney termination point.
- Based on the total rise and run, calculate the necessary slope for a ratio between 1/4" and 3/8" rise per linear foot.
- Secure pipe sections with brackets, ensuring they slope upward at the proper angle.
If your run horizontal distance exceeds 10 feet, support the pipe at least every 5 feet to prevent sagging. Use a level frequently when assembling pipe to validate correct slope orientation.
Mistake #2 - Excessive Bends & Turns
In addition to slope issues, homeowners often configure stove venting with too many direction changes from unnecessary bends and elbows.
Impact of Too Many Bends
Excessive turns, bends, and elbows negatively impact stove system performance in two ways:
- Increased resistance - More changes in direction create turbulence that impedes draft strength through added friction and pressure drops.
- Poor smoke evacuation - With weaker draft capability from resistance, combustion gases can spill, trap, and solidify rather than properly exhausting.
Ultimately, an overabundance of turns and elbows reduces efficiency and capacity. More fuel is wasted trying to overcome the duct system while producing lower heat output.
Optimal Configuration
To leverage natural draft efficiency:
- Run as straight a pipe path as feasible
- Use no more than two 90-degree elbows
This minimizes direction changes and turbulence for smoke particulates to easily evacuate.
Achieving Efficient Layout
Carefully planning your stove venting layout makes optimizing piping straightforward:
- Map desired pipe route in advance, minimizing length.
- Adjust stove position to align with chimney.
- Use adjustable elbows only when necessary.
In some cases, a chimney liner stove pipe is the best way to create a smooth, sloped path. Consult a professional installer if needed.
Correcting Existing Venting Issues
If your wood stove is experiencing draft problems, excess smoke spillage, or creosote buildup, your venting likely needs adjustment.
Signs of Venting Problems
Symptoms that your stove piping needs realignment include:
- Backdrafting smoke
- Struggling ignition
- Cold air drops
Soot buildup around pipe joints can also indicate leakage from poor connections.
When to Call a Professional
While minor sloping adjustments are reasonable DIY projects, consider hiring a pro for:
- Chimney relining installations
- Retrofitting masonry chimneys
- Excessive pipe modifications
A certified chimney sweep can assess your entire system and provide comprehensive solutions.
DIY Improvements
Quick ways to remedy common venting mistakes include:
- Adjusting pipe mounting to increase slope
- Reducing elbows or replacing angled sections with straight pipe
In some cases, extending pipe length or adjusting stove position is needed to improve alignment and draft issues.
Configuring proper stove venting doesn't need to be complicated - just remember:
- Maintain consistent 1/4" - 3/8" inch per foot upward slope
- Minimize directional changes to maximize efficiency
Rectifying minor slope or directional issues can typically be done DIY. But for chimney relining or complex retrofits, hire a certified professional to ensure safety.
Following these simple yet crucial guidelines for your wood stove venting keeps your system working optimally for years while preventing creosote buildup issues before they occur.